Setting Up Astro From Wordpress
/ Blog, Websites, ProgrammingJoin our free newsletter on Patreon for updates & behind-the-scenes →The initial challenge I faced was converting all my posts and pages into markdown format. Considering I have over 200 posts and pages, this task was quite extensive. To tackle this, I utilized a tool called wordpress-export-to-markdown. This tool enabled me to download all the posts into a markdown file, along with all the images. There are a few options available for running this tool, so I chose the one that best suited my needs. I simply downloaded the export XML file from WordPress and executed the program.
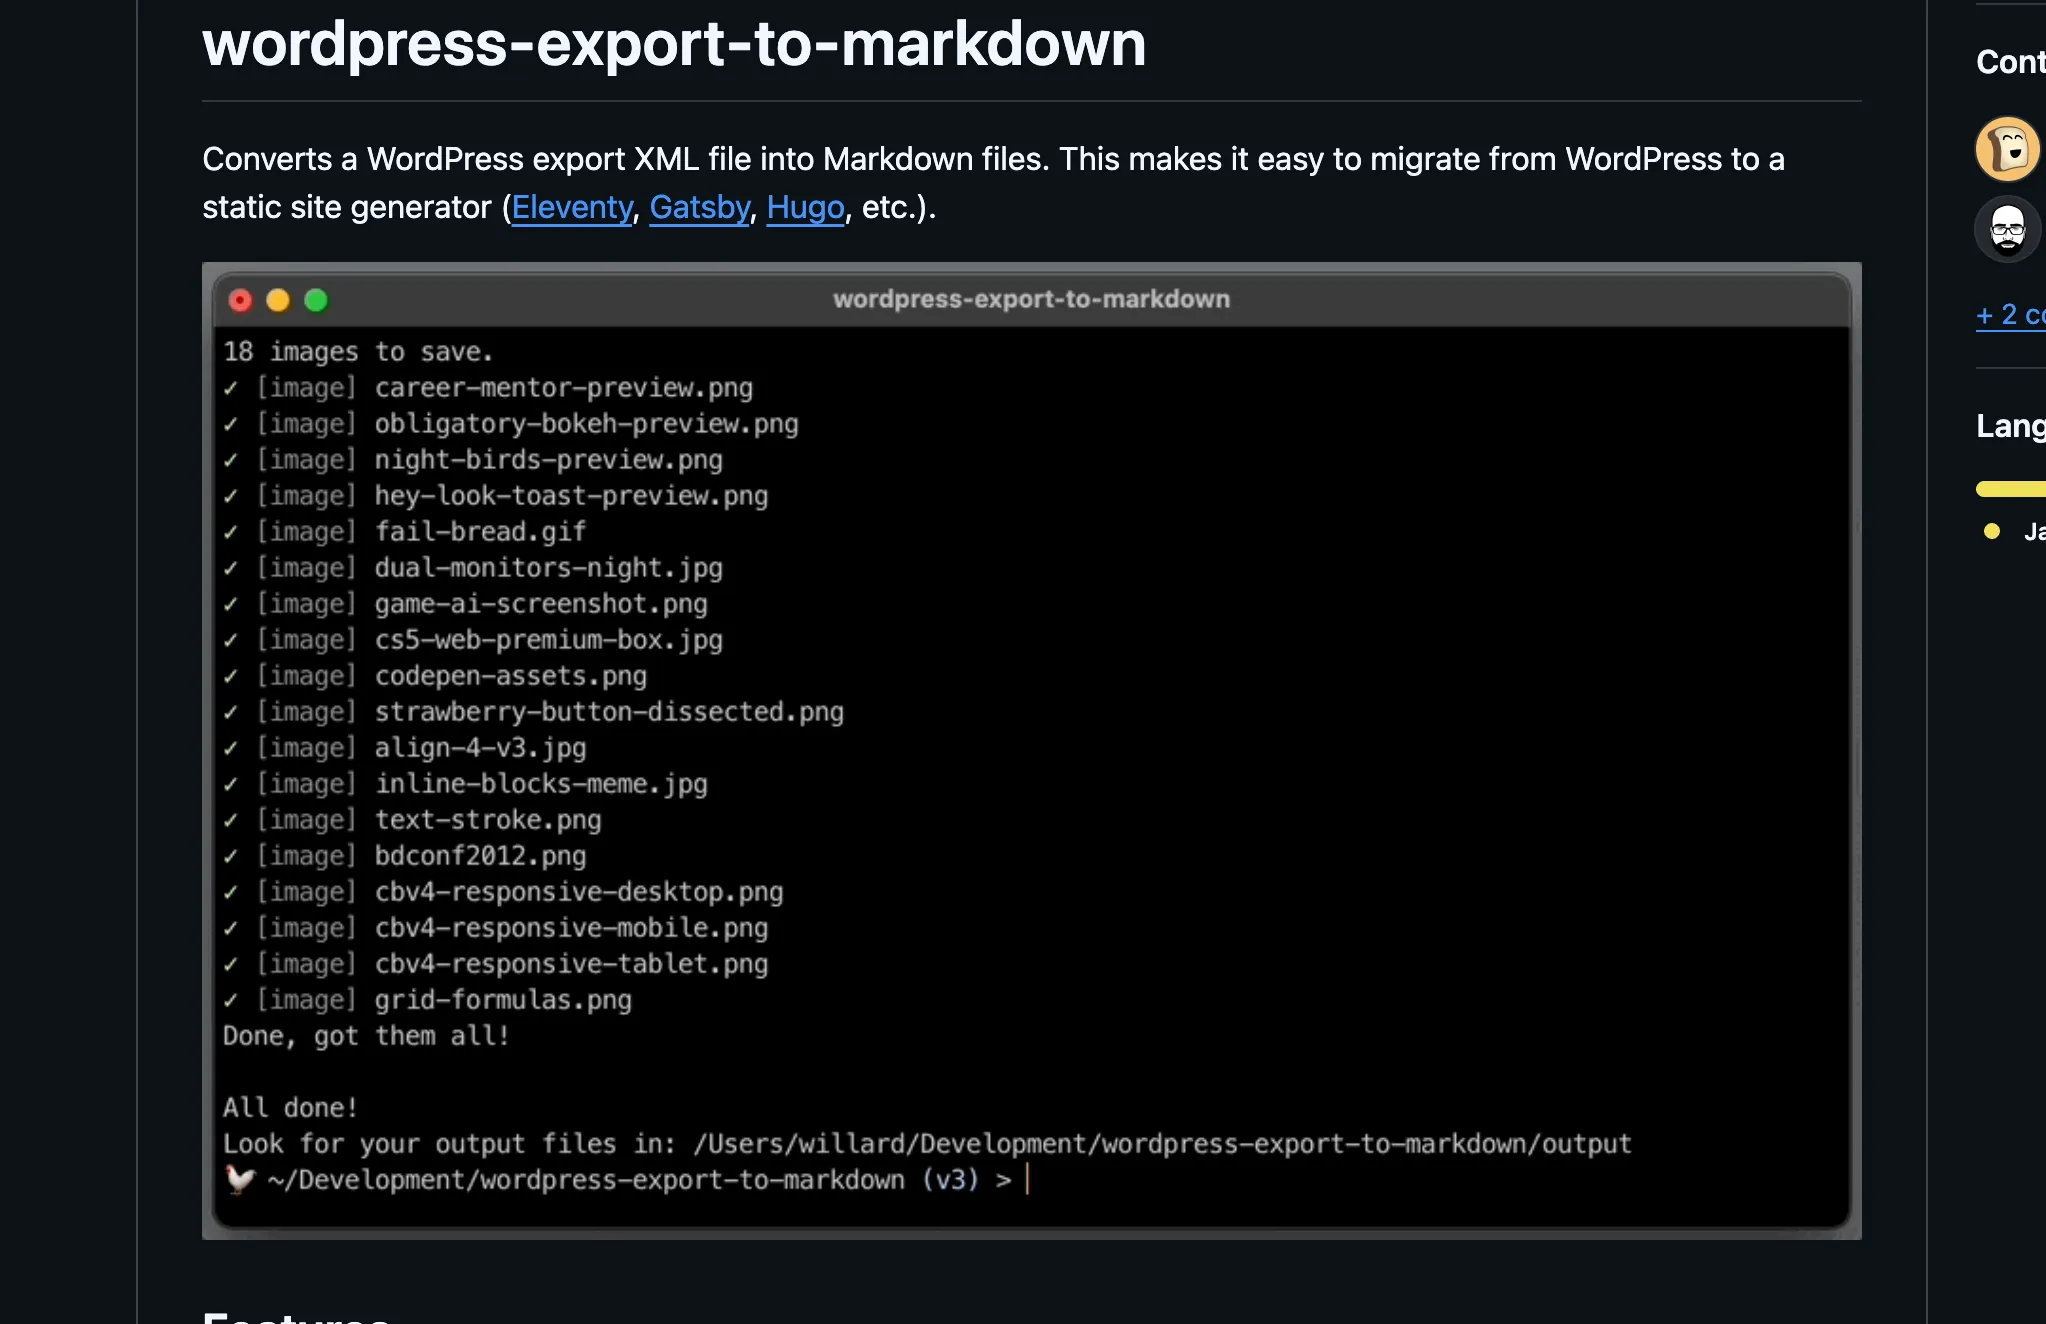
Unfortunately, it wasn’t a plug-and-play experience for me. Remember that any short codes or snippets won’t display in those posts. I also turned off comments a while ago, so I didn’t have to worry about migrating comments. Despite these challenges, most of what I needed was already there. I did a find-and-replace operation to add additional metadata to the MD files.
For setting up the Astro part of the blog, I simply followed their tutorial: docs.astro.build/en/tutorial/1-setup/
# create a new project with npm
npm create astro@latest

# I may have used this command, although, I forget
npm create astro@latest -- --template blog
This setup serves as a basic template that I used to build my blog. I had to make modifications to the Astro blog pages to ensure that the correct images are pulled in. You can define collections, such as your blog, which will traverse through those folders to retrieve MD and MDX files. I’ll provide a brief explanation of what MDX is, but just know that it’s an incredibly cool concept.
const blog = defineCollection({
    // Load Markdown and MDX files in the `src/content/` directory.
    loader: glob({ base: './src/content', pattern: '**/*.{md,mdx}' }),
    // Type-check frontmatter using a schema
    schema: ({ image }) =>
        z.object({
            title: z.string(),
            description: z.string().optional(),
            pubDate: z.coerce.date(),
            updatedDate: z.coerce.date().optional(),
            heroImage: image().optional(),
            coverImage: image().optional(),
            socialImage: image().optional(),
            author: z.string().optional(),
            authorEmail: z.email().optional(),
            categories: z.array(z.string()).optional(),
            tags: z.array(z.string()).optional(),
        }),
});
Here is what the internet says MDX is:
MDX files are a type of file that combines Markdown and JSX, allowing users to write content with Markdown syntax while embedding React components for interactivity. They are commonly used in documentation and web development to create rich, interactive content.
That said, it enables components within the blog post. This is akin to the short codes and snippets available in WordPress. For instance, I created an Astro component specifically for YouTube videos, as shown below:
---
const { id } = Astro.props;
const url = "https://www.youtube.com/embed/"+id;
---
<iframe class="youtube-video" src={url} title="YouTube video player" frameborder="0" allow="accelerometer; autoplay; clipboard-write; encrypted-media; gyroscope; picture-in-picture; web-share" referrerpolicy="strict-origin-when-cross-origin" allowfullscreen></iframe>

<style>
    .youtube-video {
        width: 100%;
        min-height: 500px;
        border-radius: 10px;
        box-shadow: var(--box-shadow);
    }
    @media (max-width: 720px) {
        .youtube-video {
            height: 200px;
        }
    }
</style>
I can then simply add a YouTube video to a blog post using something like this:
<YouTube id="bC1REGm84Q4" />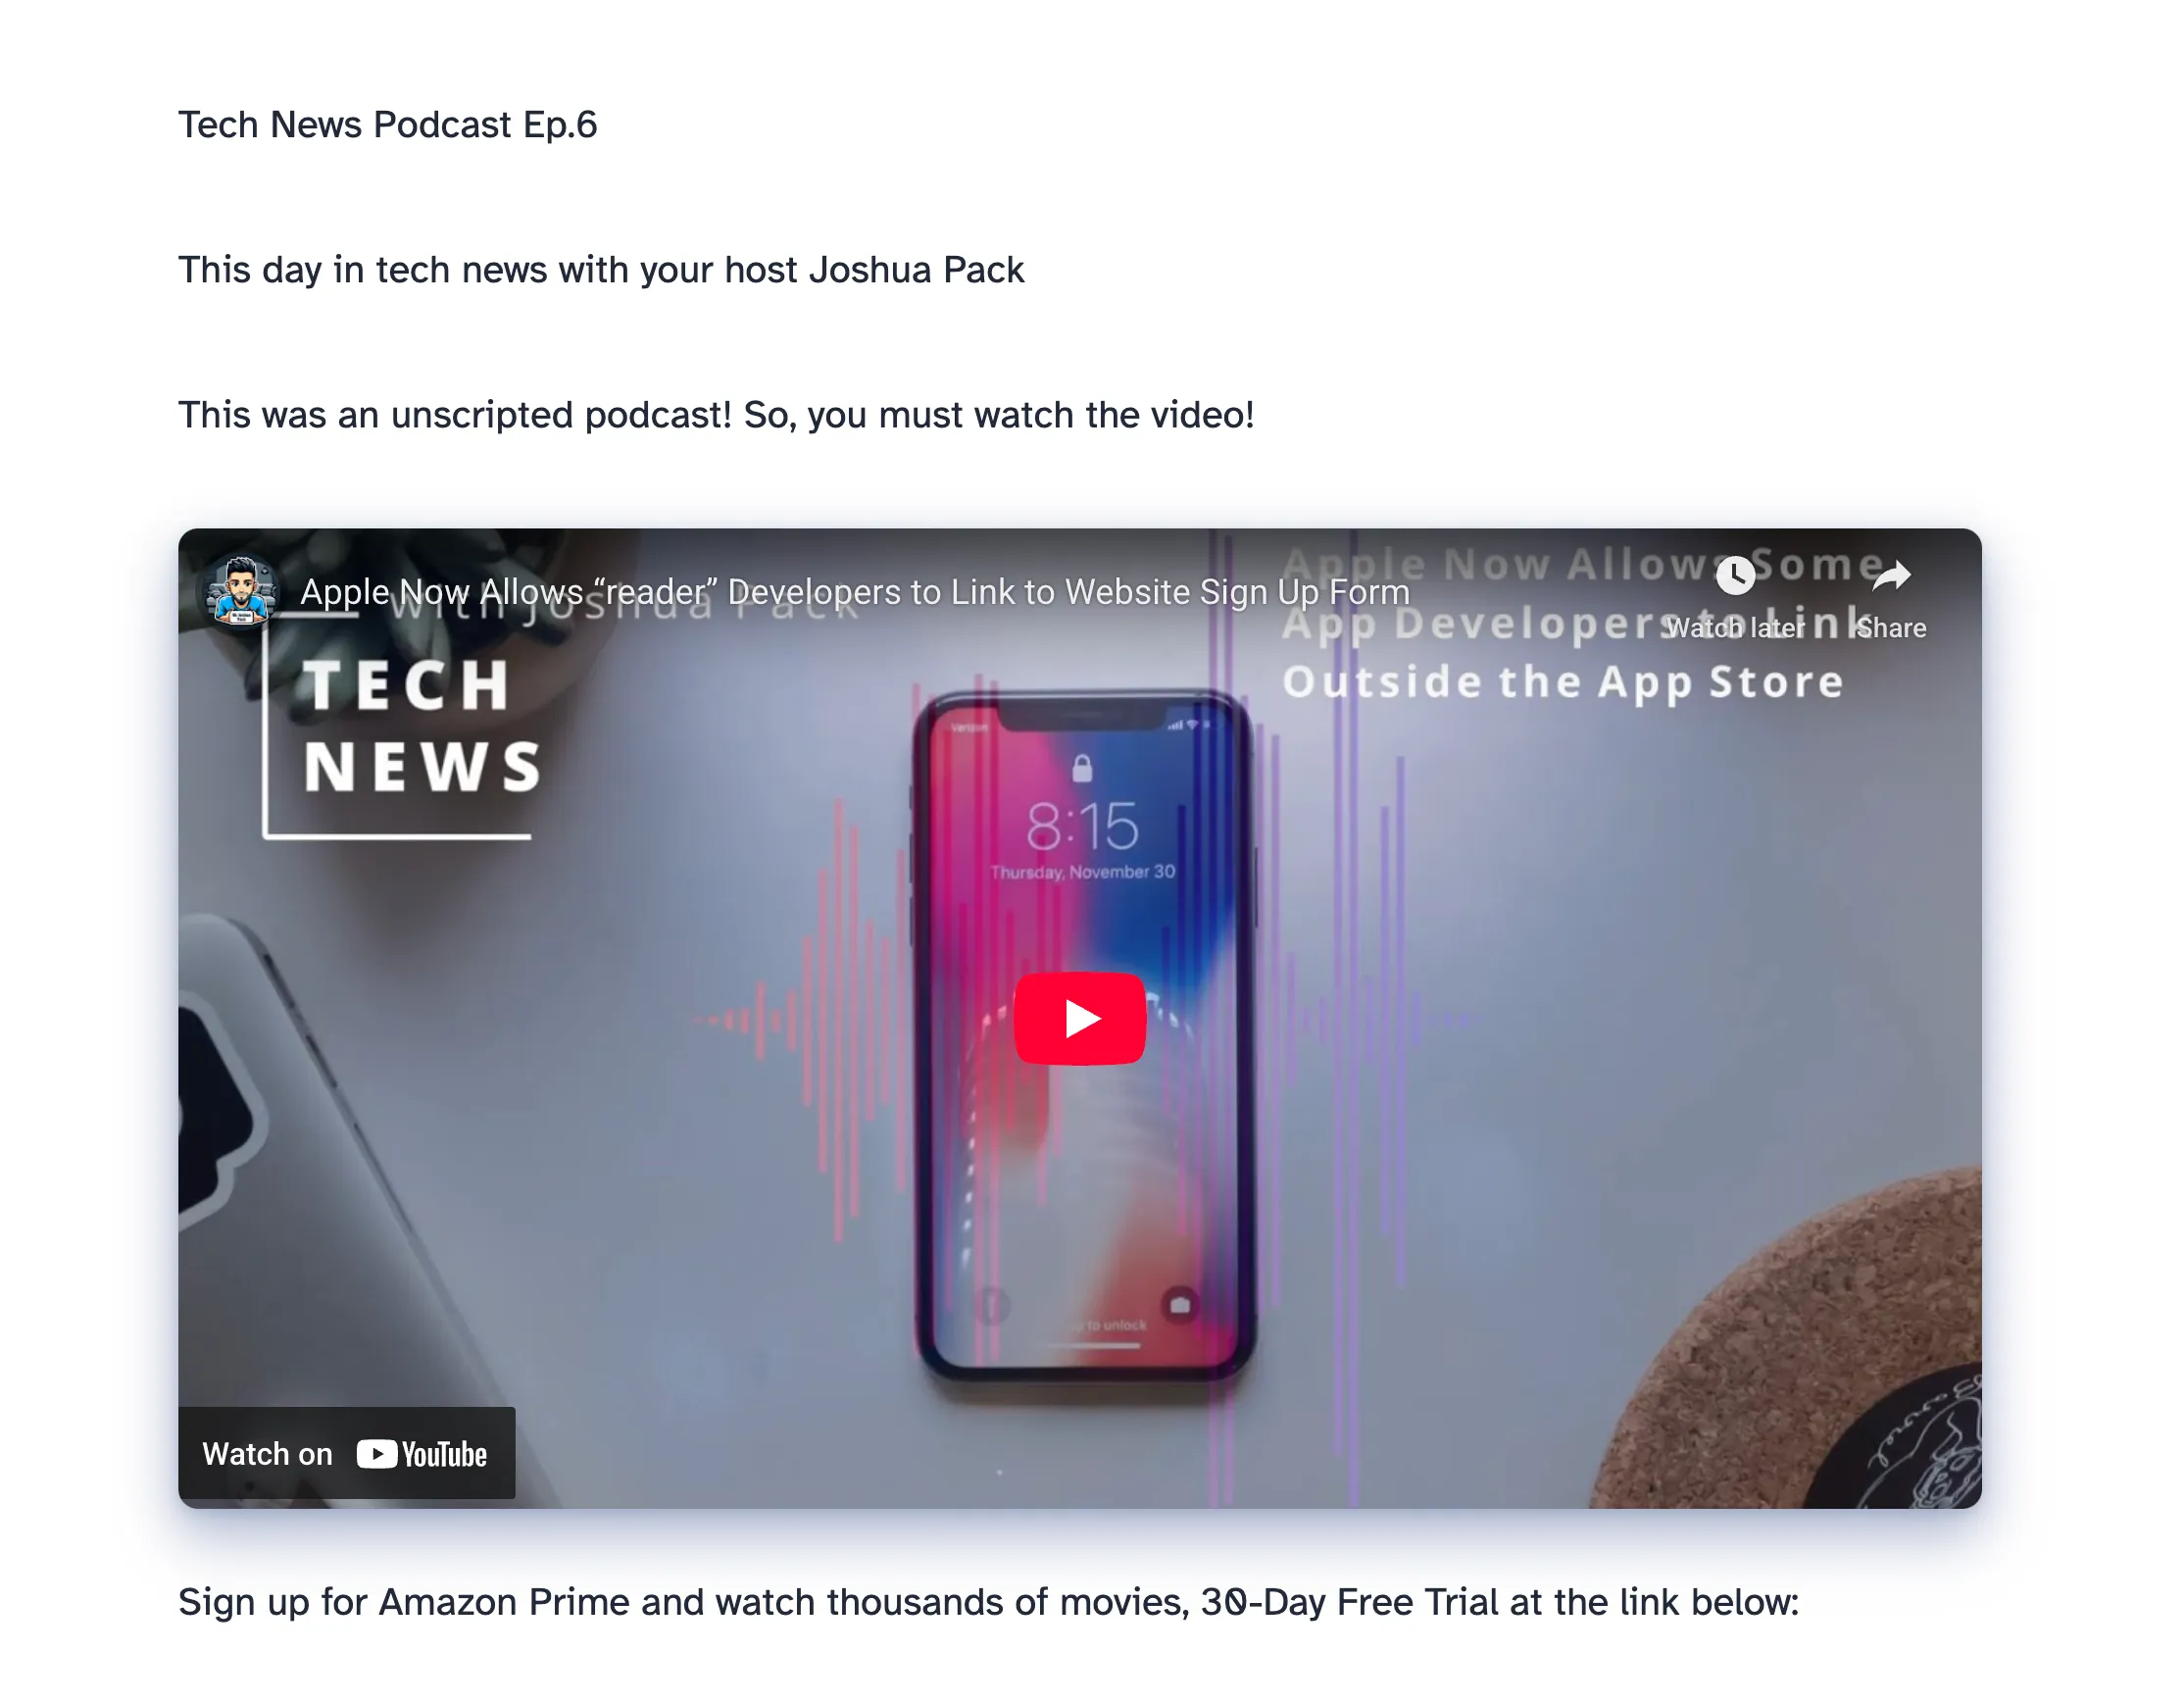
Love that you can do this kind of stuff. However, I did have to go through all my posts with videos and update them to a .mdx file that I wanted to do this too. So I could change the size of the YouTube component on every page by just editing this one file. You can see how this can expand what you can do.
One significant change was the URL structure, which required adjustments to align with my current setup. I used my sitemap for comparison. Astro provides a convenient feature for creating redirects. Within the astro.config.mjs file, you can add a redirects object that maps old URLs to new URLs. This can be quite helpful. However, I primarily used Nginx redirect regex for most of my tasks. Here’s what I did for a few examples:
rewrite ^/articles/page/(.*)$ /articles/$1 permanent;
rewrite ^/tag/(.*)/page/(.*)$ /tag/$1/$2 permanent;
rewrite ^/category/(.*)/page/(.*)$ /category/$1/$2 permanent;
Once I completed development, I set up a deploy process that allowed me to deploy my code to my private GitHub account. This deployment triggers the build process on the server, which completes within 30 seconds. Here is a sneak peak at the makefile:
update:
    git pull origin main
    docker compose up -d --build
Hopefully, in my next article, I’ll delve deeper into the deployment process. I’ve discovered a method to deploy to a Digital Ocean VPS and serve using Nginx. The entire process requires a bit more explanation. If you have any questions, feel free to reach me on my social media. Until then, have a fantastic week!
~Joshua
Tags:Blog, Websites, Wordpress, Astro, Static Site Generator, Web Development, Migration, Javascript, Static-websiteAuto Deploying Astro on a VPS
I Am No Longer On WordPress
Related Posts

Adding Comments to an Astro Blog: Why I Chose Self-Hosted Artalk
Learn why I chose Artalk for my Astro blog. Discover how this self-hosted, lightweight, and privacy-focused comment system keeps my static site fast and secure.
Continue to read more…
The Subscription System I Didn’t Build
I considered building a custom email subscription service but chose Patreon instead. Learn why I opted for simplicity over reinventing the wheel.
Continue to read more…
How I Host and Deploy My Astro Site for $0 on Cloudflare
Learn how to host and deploy your Astro static site for free using Cloudflare. Streamline your development workflow with this simple, reliable, and fast guide.
Continue to read more…
Built an Astro CMS Admin in Go
/Programming, Blog, Tech
I built a lightweight, high-performance CMS admin panel for my Astro blog using Go. Learn how this custom tool streamlines my publishing workflow from anywhere.
Continue to read more…
Comments
Join the discussion