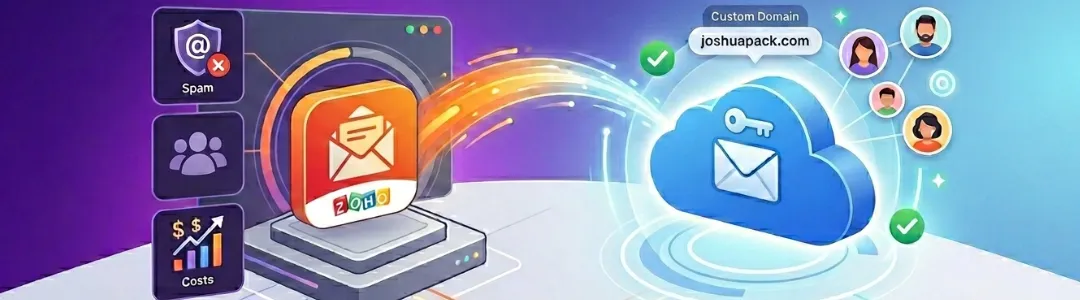
I currently use Zoho Mail for my personal emails. While it gets the job done, their spam control leaves a lot to be desired, and you are strictly limited on the number of users unless you start paying up. Up until now, I’ve been clinging to their free tier with 5GB of storage for just myself.
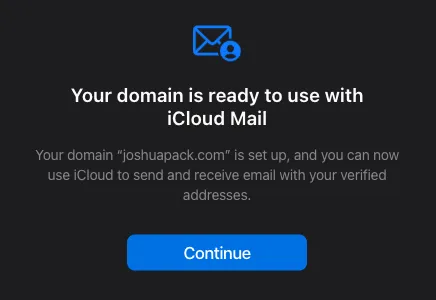
However, if you have an Apple iCloud+ subscription, you can host your custom domain (like joshuapack.com) for you and your family. Plus, iCloud+ allows you to add up to 5 custom domains. It’s an incredible value if you’re already in the Apple ecosystem.
Unfortunately, if you search online for “how to migrate from Zoho to iCloud,” the results are flooded with ads for paid migration software. While it’s nice that those apps exist, I’m going to let you in on a secret: you can do it yourself completely for free.
In this guide, I’ll show you how to handle the entire migration process using a Mac, but the same concepts apply for other operating systems.
Step 1: Set Up Your iCloud Mail & Custom Domain
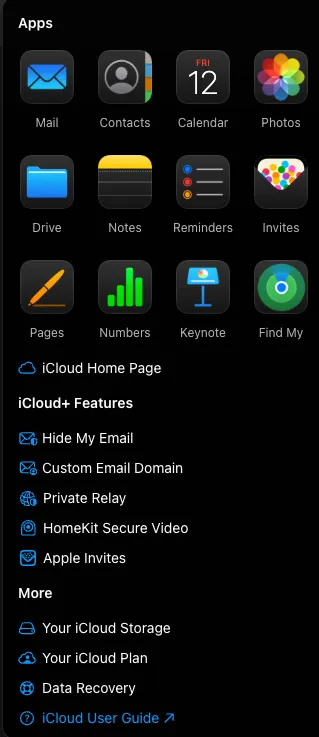
First, navigate to icloud.com/mail and sign in. If you have an Apple account but never activated iCloud Mail, create your new @icloud.com email address now. Make sure to note this username down; you’ll need it later.
💡 Note: You might notice an “Import Mail” button immediately after creation. Skip it for now. I’ll explain why later.
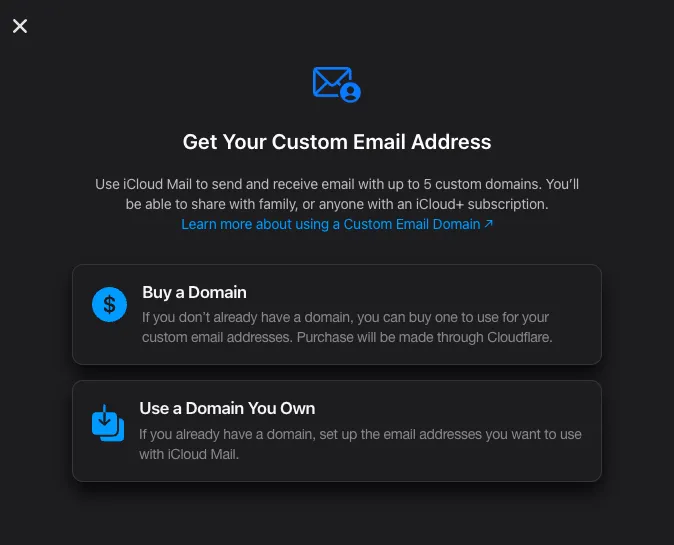
Next, let’s set up your custom email domain.
Apple gives you the option to buy a domain through Cloudflare, but we are going to use an existing domain.
One of the best features here is the ability to share the domain with your family members.
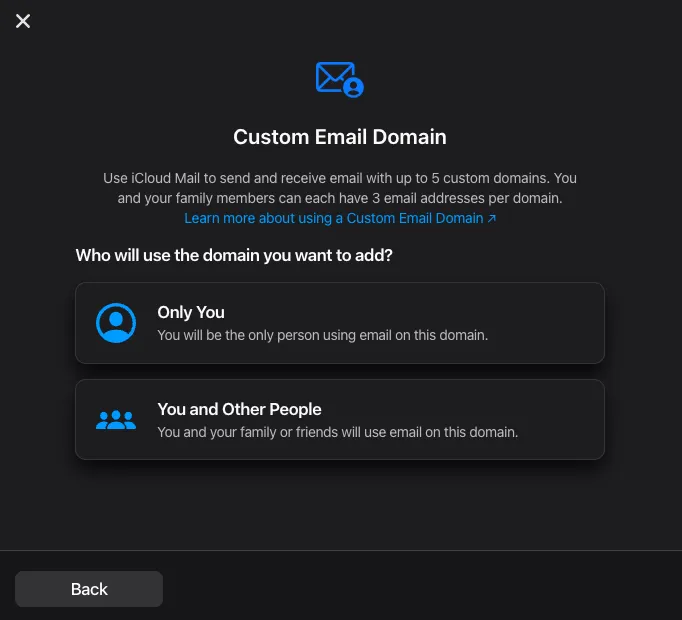
Important: If you have existing email addresses on this domain, you will need to verify them, so add those first. You can always add new, clean email aliases later.
If your domain is managed by Cloudflare, iCloud can automatically log in and configure your DNS records for you. If you use a different registrar, you’ll just need to copy and paste the MX, TXT, and CNAME records manually. (Side note: I highly recommend Cloudflare anyway—their yearly domain registration pricing is incredibly cheap).
Once the DNS is updated, wait for Apple to verify the changes. It took about 5 minutes for me to receive the confirmation notification.
Now, simply set your default sending address to your custom domain email. Boom! You are now sending and receiving mail through iCloud on your own domain.
Step 2: The Migration Dilemma
Now comes the hard part: moving years of historical emails over to iCloud.
If you go to the Mail settings in the top-left corner (the gear icon), Apple offers a built-in email import tool.
This built-in tool works wonderfully and is completely free—but only if you are migrating from Gmail, Yahoo, or Outlook.
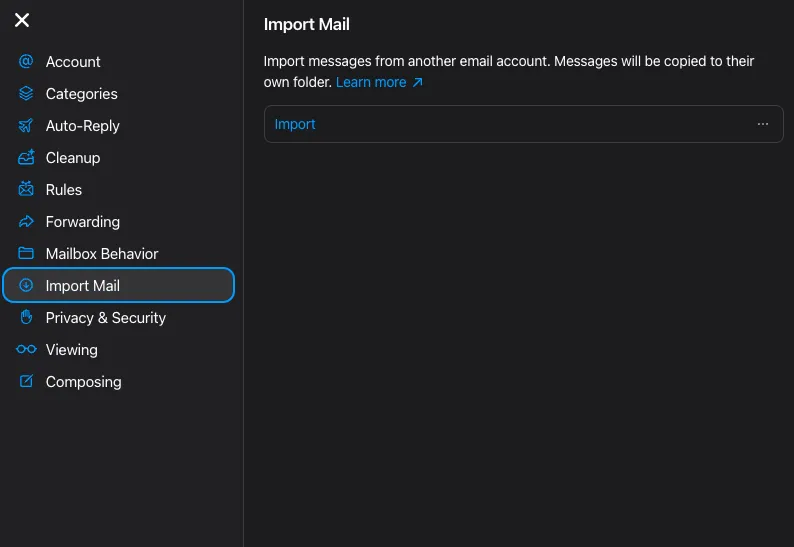
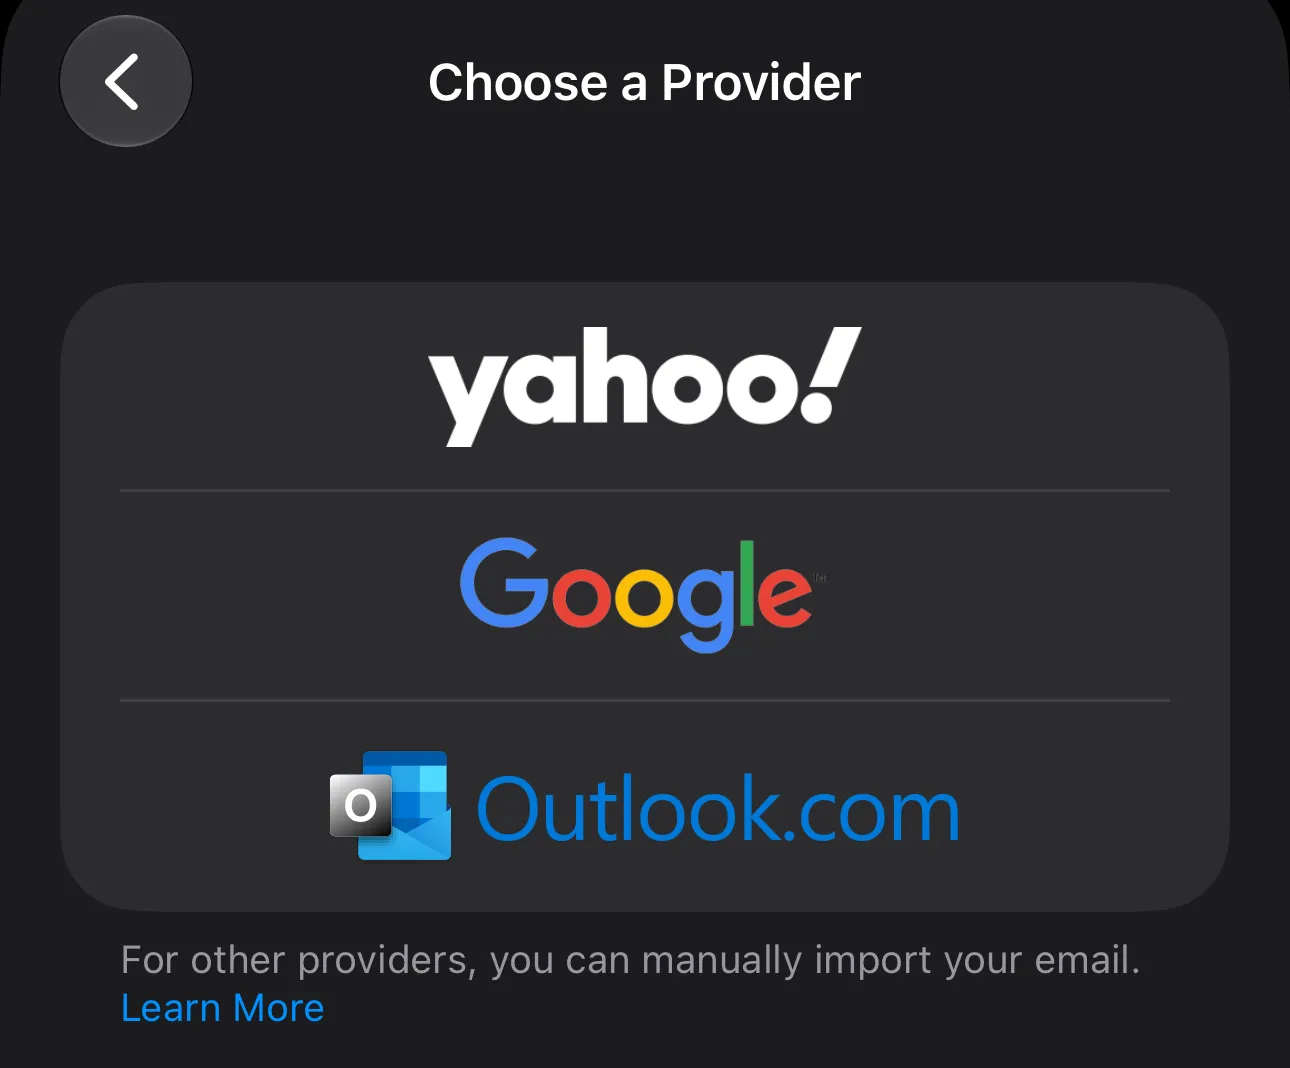
Because I’m moving from Zoho, this native feature is a dead end. 😒
Luckily, there is an open-source workaround.
Step 3: Enter imap-backup
I found an excellent tool on GitHub called imap-backup that handles local IMAP backups and server-to-server migrations flawlessly.
To use this method, ensure IMAP access is still turned on in your Zoho account settings. You will also need Apple’s specific IMAP configuration details, which can be found in this Apple Support Document.
Assuming you have Homebrew installed on your Mac (if not, grab it at brew.sh), install the utility by running:
brew install imap-backupPhase A: Backing Up Zoho Mail
First, we need to download a local copy of all your Zoho emails. Run the setup wizard:
imap-backup setup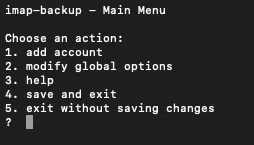
Choose to add an account, then configure your credentials. For Zoho, the server address is imap.zoho.com.
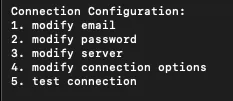
Test the connection to ensure it links up successfully. Once verified, press q to save and exit back to your terminal.
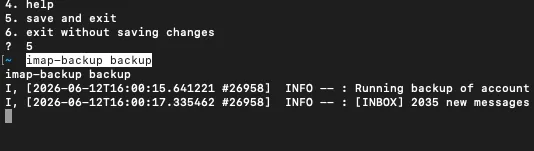
Now, kick off the local backup process by running:
imap-backup backupDepending on the size of your mailbox, this could take a few minutes or several hours. Sit back, relax, and let it run.
Troubleshooting Backup Errors:
- Blank Email Errors: If your backup fails with
failed with error unexpected nil (expected ")"), it usually means you have corrupted or completely blank emails in the folder it errored out on. Go into Zoho webmail, navigate to that specific folder, sort by size (lowest to highest), and delete the empty phantom emails. Rerun the backup command, and it will pick up right where it left off. - Timeout Errors: If you hit an
Operation timed outerror, simply rerun theimap-backup backupcommand again.
My Experience: This process took hours for me because I had over 25,000 emails totaling 2.5GB. Don’t worry—your Zoho account remains completely active and searchable while this runs, and any new incoming mail is safely arriving in your iCloud account.
Phase B: Migrating to iCloud
Once the backup finishes, we don’t need to manually edit any underlying files. However, we do need to configure imap-backup to talk to Apple.
Run the setup utility again:
imap-backup setupAdd a new account for Apple Mail using the following parameters:
- Email/Username: Your standard
@icloud.comemail address (e.g.,[email protected]). - Server:
imap.mail.me.com - Password: You cannot use your standard Apple password here. You must generate an App-Specific Password:
- Sign in to account.apple.com.
- In the Sign-In and Security section, click App-Specific Passwords.
- Click Generate an app-specific password and copy the resulting code.
Paste that app-specific password into the tool, test your connection, press q, and save.
Now, trigger the migration using the following syntax:
imap-backup migrate [email protected] [email protected]Tip: Append -v to the end of the command if you want a verbose output showing every single email as it transfers.
Troubleshooting Migration Errors:
- Size Limits (TOOBIG): You might encounter
append error: Cannot upload message, TOOBIG. Apple imposes a strict incoming/outgoing email limit of 20MB. I had a few emails with attachments pushing 30MB that failed to import. - Parsing Errors: If you see
append error: Cannot parse message, the email formatting itself is likely too corrupted for Apple’s servers to read.
⚠️ Crucial Warning: If the migration command crashes or errors out halfway through, do not just blindly run the exact same command again, or it may duplicate the emails that already succeeded.
If it stops, you will want to isolate what’s left. I would use an open-source tool called MBox-Explorer to look at my local backup files. I would safely delete the folders/directories from my local backup that I knew had already fully uploaded, trim out the specific messages causing the crashes, and reran the migration on the remainder.
Conclusion
Once the terminal settles, check your Apple Mail app. You should see all your historical folders and archives sitting safely in your new iCloud home—minus any messages that were simply too massive to fit through Apple’s 20MB gates.
For those oversized emails, I simply went back to Zoho one last time, sorted by size (largest first), downloaded the bulky attachments directly to my local drive, and saved them to my iCloud Drive storage instead.
You now have a fully functioning, family-shareable, custom-domain email setup running on iCloud entirely for free!
~ Joshua
Tags: Zoho , Icloud , Mail , Migration , Mac , Dns , Cloudflare , Imap-backup , Email , Tutorials , Free , Open-sourceRelated Posts
-

Self-Host Obsidian Sync in 10 Minutes with Docker
Self-host your Obsidian Sync server with Docker and CouchDB in 10 minutes. Take control of your data with this private, local-first setup.
Continue to read more… -
Using Antigravity AI to Build Websites
/ Blog, Programming
Learn how Antigravity AI helped me build invoicing software and migrate to Vite. Explore the benefits and future of agentic coding for web development.
Continue to read more… -

Setting Up Astro From Wordpress
/ Blog, Websites, Programming
Learn how I converted over 200 WordPress posts to markdown using the wordpress-export-to-markdown tool for my Astro migration.
Continue to read more… -

I Am No Longer On WordPress
After more than two decades on WordPress, I've migrated my website to Astro, a modern static site generator. Here's a look at the challenges and benefits of this transition.
Continue to read more…