Escaping the Cloud: Why I’m Moving My “Second Brain” to a Self-Hosted Obsidian Setup
For years, my digital life was scattered across Apple Notes and, before that, Google Keep. They were “fine.” They synced, they were fast, and they were easy. But as my personal and professional projects grew, I started hitting the limits of the “walled garden” approach.
I wanted a true Second Brain, a cross-platform system where I could link ideas, manage my business, and store long-term knowledge. But I had three non-negotiable requirements:
- No Cloud: My data needs to stay on my hardware.
- No Subscriptions: I’m tired of “renting” my own notes.
- Syncronization: It has to work seamlessly across my desktops, laptops, and phones.
This led me to Obsidian. While Obsidian is local-first, syncing it across multiple devices usually requires their paid “Obsidian Sync” service. After some digging, I found the holy grail for a self-hosted developer: the Self-hosted LiveSync plugin paired with CouchDB running in Docker.
Here is how I traded the cloud for a setup I actually own and love.
The Philosophy: Local-First, Not Local-Only
Obsidian stores everything as plain Markdown files on your hard drive. This is great for longevity, but “local” becomes a problem when you have many devices.
By using CouchDB (a NoSQL database designed for synchronization) and running it in a Docker container on my own server, I get the “cloud” experience (instant syncing) without actually sending my data to a third-party provider.
1. The Docker Setup
The heart of this system is a single Docker container. I chose CouchDB because the LiveSync plugin uses its replication protocol to move data between devices at lightning speed.
I am running this on a Mac Mini, but it should work on any machine. Just make sure you have Docker installed. Also, keep the computer/server on all the time. It’s best if the server is wired to the network and not on WiFi, but it should work either way.
Create a directory for your setup and save this docker-compose.yml into it:
services:
  couchdb:
    image: couchdb:latest
    container_name: obsidian-sync
    environment:
      - COUCHDB_USER=admin_user
      - COUCHDB_PASSWORD=admin_password
    volumes:
      - ./data:/opt/couchdb/data
      - ./config/local.ini:/opt/couchdb/etc/local.ini
    ports:
      - "5984:5984"
    restart: unless-stopped
Make sure to replace admin_user and admin_password with your own credentials.
Now let’s create the config file. Create a file called config/local.ini with the following contents:
[httpd]
enable_cors = true
WWW-Authenticate = Basic realm="CouchDB"

[cors]
origins = app://obsidian.md,capacitor://localhost,http://localhost
credentials = true
methods = GET, PUT, POST, HEAD, DELETE
headers = accept, authorization, content-type, origin, referer
max_age = 3600 ; Set to 1 hour

[chttpd]
require_valid_user = true
max_http_request_size = 4294967296 ; 4GB for large bulk imports

[chttpd_auth]
require_valid_user = true
authentication_redirect = /_utils/session.html

[couchdb]
single_node = true ; Set to true for single-node setup
max_document_size = 50000000 ; 50MB limit for larger attachments
Run docker compose up -d, and your private sync server is officially online.
2. Configuring CouchDB
CouchDB requires a bit of “tuning” to talk to the Obsidian app. You need to enable CORS (Cross-Origin Resource Sharing). However, with the config file we just created, this is already enabled. The hard part is finished.
We need to create a database. Open your browser to http://localhost:5984/_utils (the Fauxton dashboard).
Log in with your credentials.
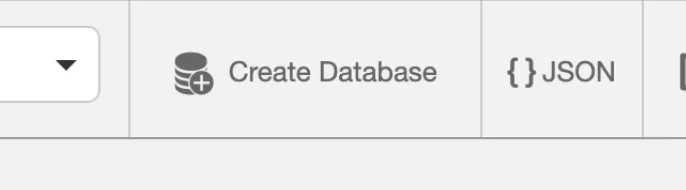
At the top, click “Create Database” and name it something like “secondbrain”. (Non-partitioned is fine)
3. Networking
If you are on a local network, you can use the local IP address of your server. If you are on a remote network, you will need to use the public IP address of your server. However, I am not going to cover that in this guide. We are just gonna get our local syncing working. Maybe in the future I will write a guide for remote syncing.
I recommend using a VPN to your home network. This will ensure that your server is always accessible and secure without the need to use a public IP address or exposing ports to the internet.
You will want to make sure you set the servers ip address as a static ip address. This will ensure that the ip address does not change. This will be dependent on your router. If you are like me and use Ubiquiti, you can find the static ip settings in the UniFi controller.
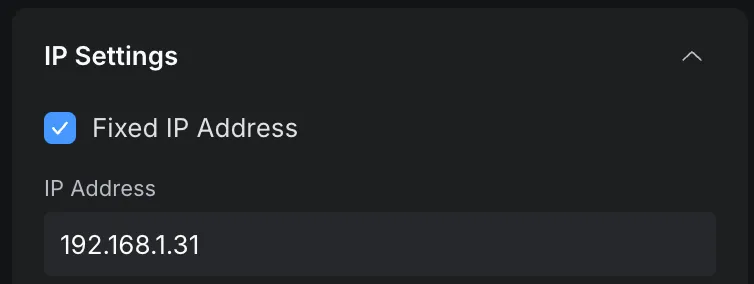
Go to the UniFi controller and find the device you want to set as a static ip. Click on it and go to the “Settings” tab. Scroll down to the “IP Settings” section and click “Fixed IP Address”. This should make it stick.
If for some reason you go from wifi to ethernet, or vice versa, you will need to update the fixed ip address within your router settings again. This is because it uses a different mac address depending on the network interface.
4. Setting Up the Obsidian Plugin
Once you’ve installed Obsidian (it’s free!) on your main laptop/desktop, create a new empty vault, if you don’t have one. If you already have a vault, make sure to backup your data before proceeding as this could cause data loss.
Head to the Community Plugins and search for Self-hosted LiveSync. Install it. Enable it. This should pop up a window to configure the plugin.
Since you have not configured the plugin yet, we need to select that this is our first time setting it up. Select “First Time Setup” and click “Yes”.

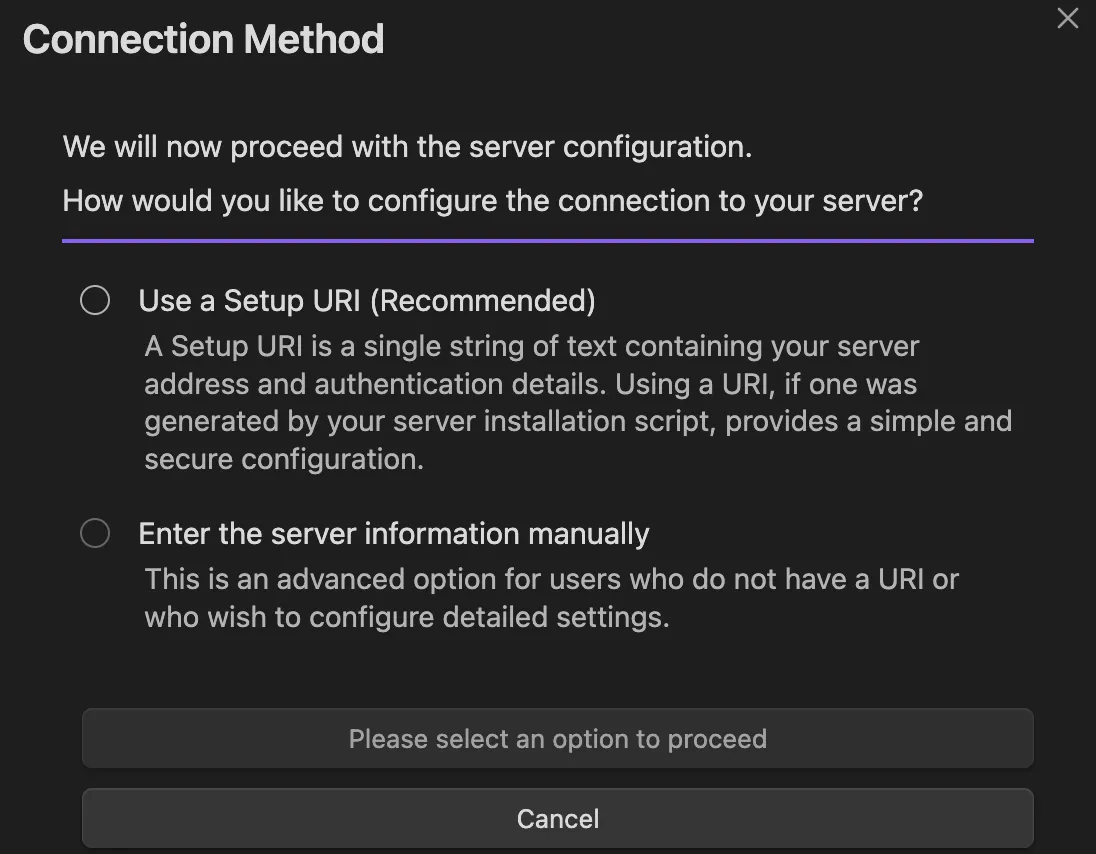
Select your conection method. Let’s go ahead and enter the connection details manually.
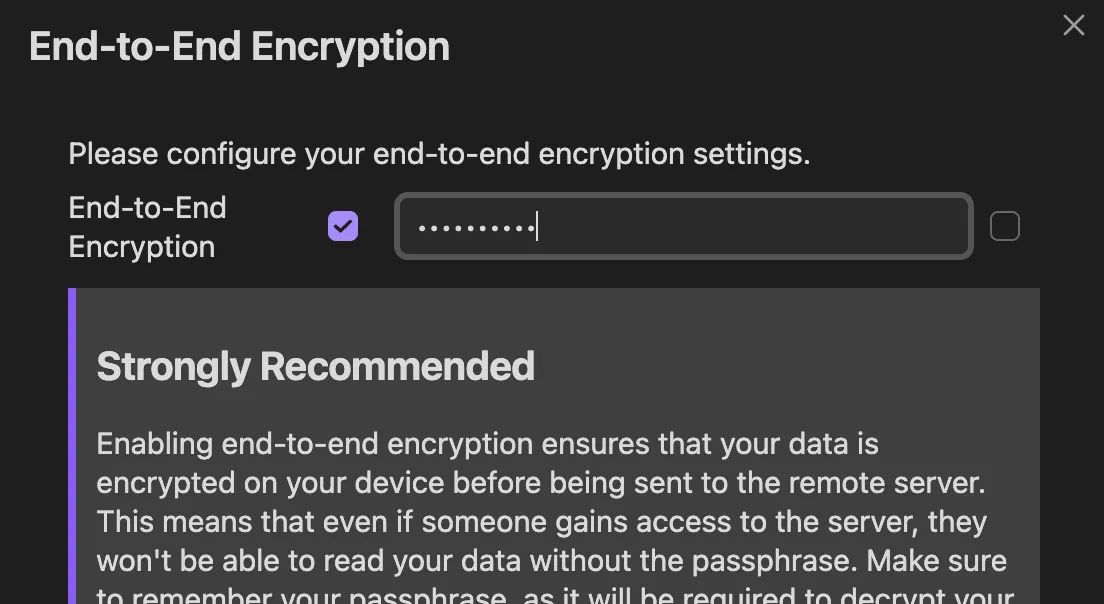
We want End-to-End encryption, so select that option. Set a password. Make sure you save this password somewhere safe. Cause if you lose it, the sync will break or corrupt the data. You can ignore the other options on this page.
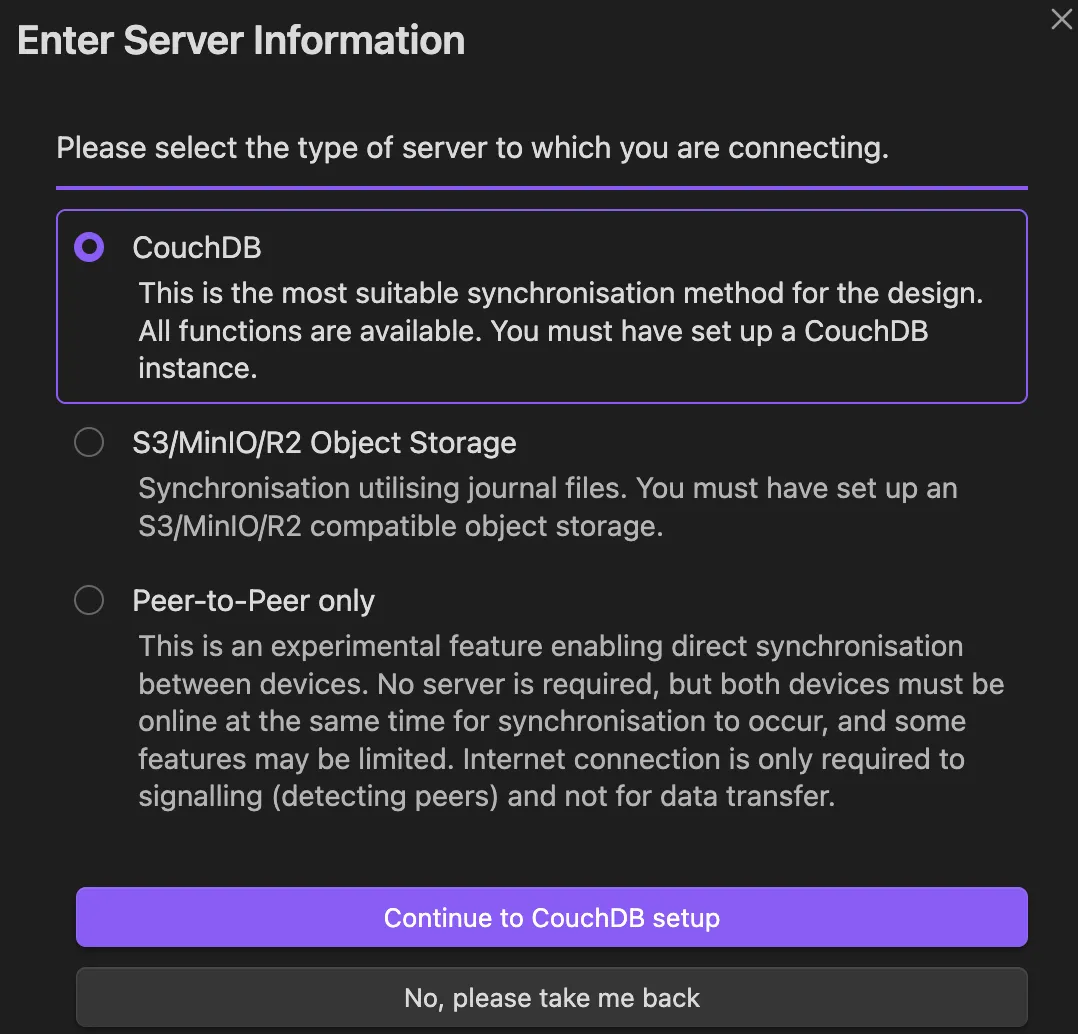
Here is where we will setup the connection to our CouchDB server. Select CouchDB and continue.
Now within the CouchDB Configuration section, fill in the details:
- URL: http://{your-server-ip}:5984 (Should be your local IP address and port to the CouchDB server)
- Credentials:
- Username: admin_user (Should be your CouchDB admin login)
- Password: admin_password (Should be your CouchDB admin password)
- Database Name: secondbrain (Should be the name of the database you created)
Now click on “Test Settings and Continue”. It it failed, double check your settings and keep trying until you succeed. If it works, you should be on a new page to prepare to fetch and sync your data.
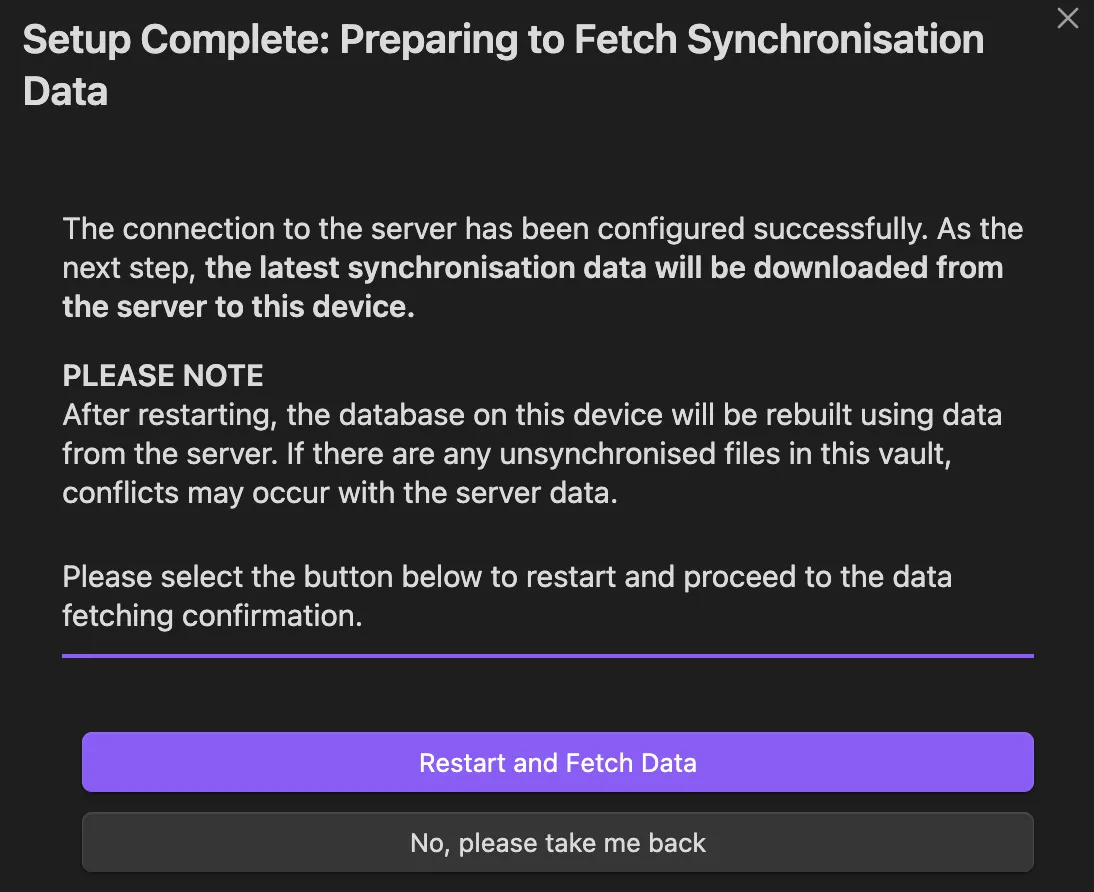
Click “Restart and Fetch Data”. It is important that you read the warning message and understand what it means. Always make sure to backup your data before syncing, just in case something goes wrong.
You should now see a reset syncronization on this device page. There will be 2 questions you will need to answer. Make sure to read everything carefully, so that you understand what is happening.
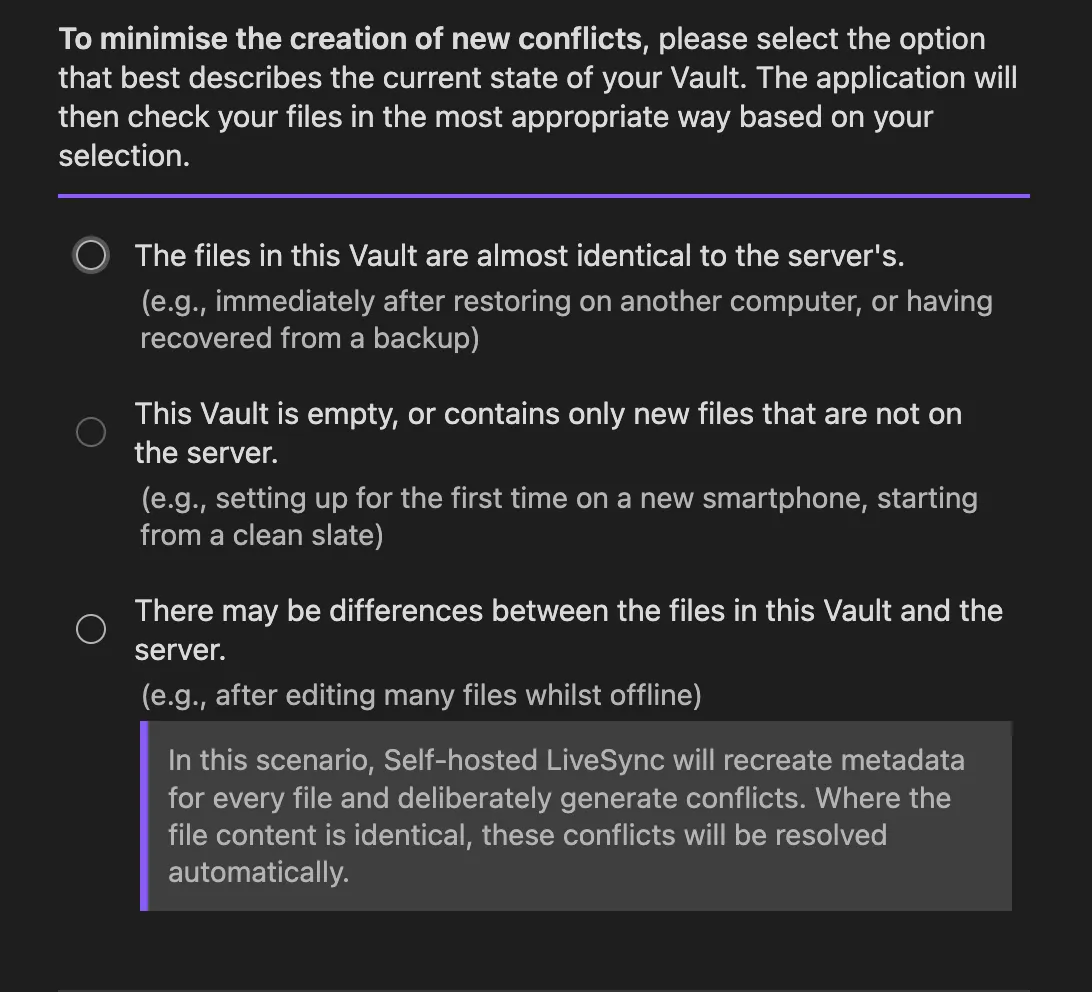
Because this is the first time we are syncing, we can select “This vault is empty, or contains only new files that are not on the server.”
The second question is making sure you made a backup. Make a backup now if you have not already.
Select “Reset and Resume Syncronization” to continue. You will get a pop up saying “Fetch Remote Configuration Failed”. This is normal, because this is the first time we are syncing. Click on “Skip and proceed”.
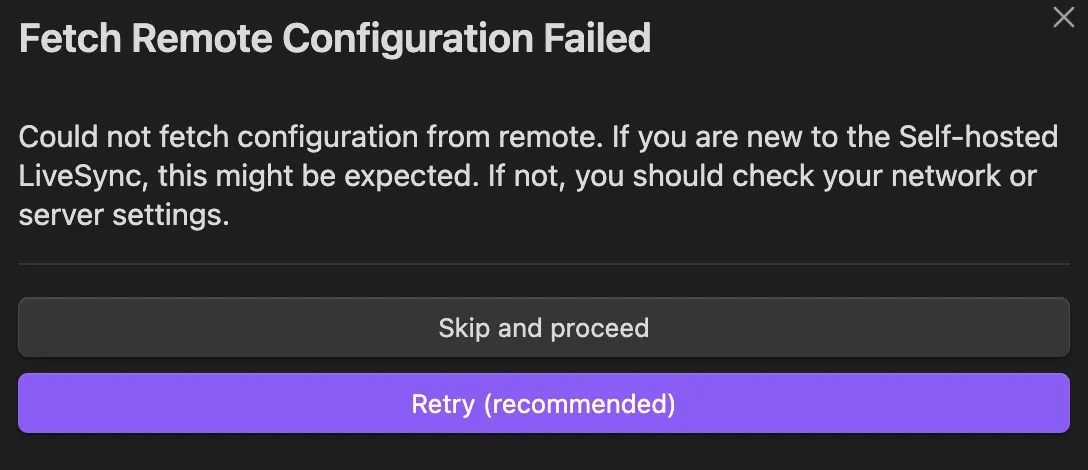
It is now gonna ask a bunch of questions. Read it, and most likely just hit the purple recommended option. And have the Doctor fix any issues that come up.
Now, you will come to the final page to overwrite server data with your vault. Because this is the first time setting this up, you shouldn’t have anything to worry about. Read each checkbox and answer the questions. Once you are ready, click “I Understand, Overwrite Server”.
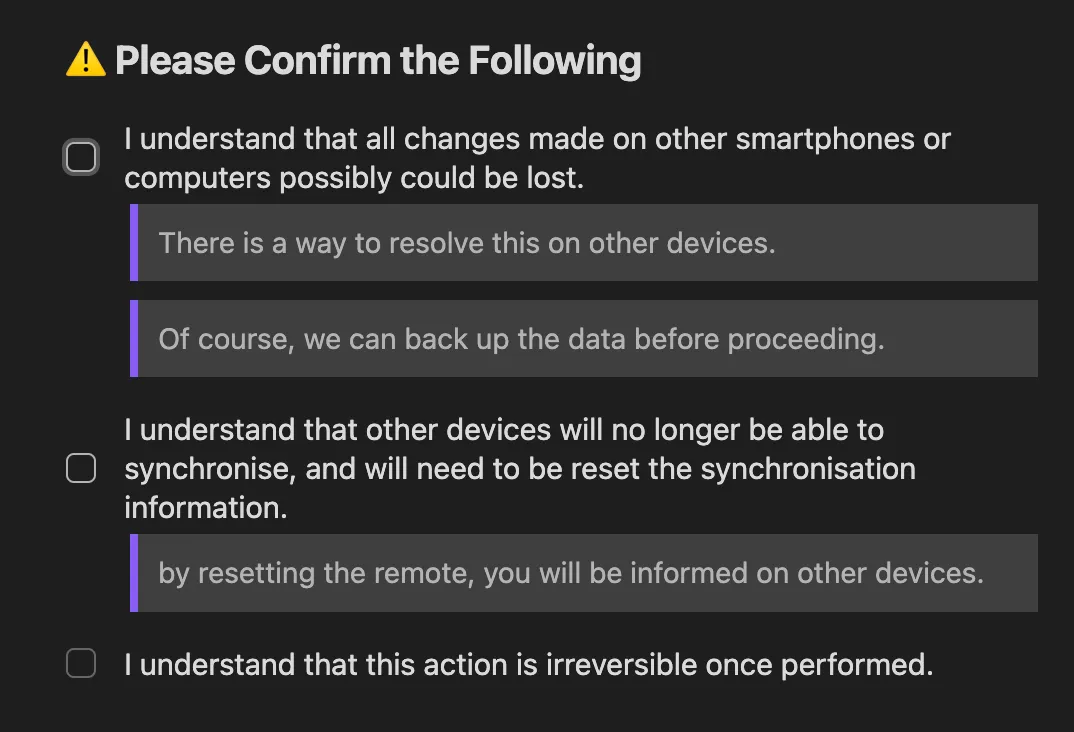
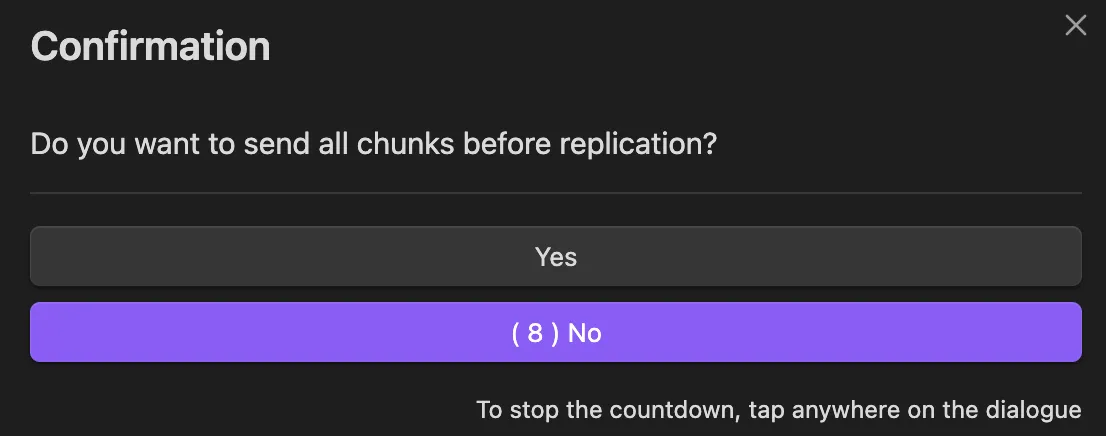
It will then pop up some more questions. Read it, and I hit yes to everything.
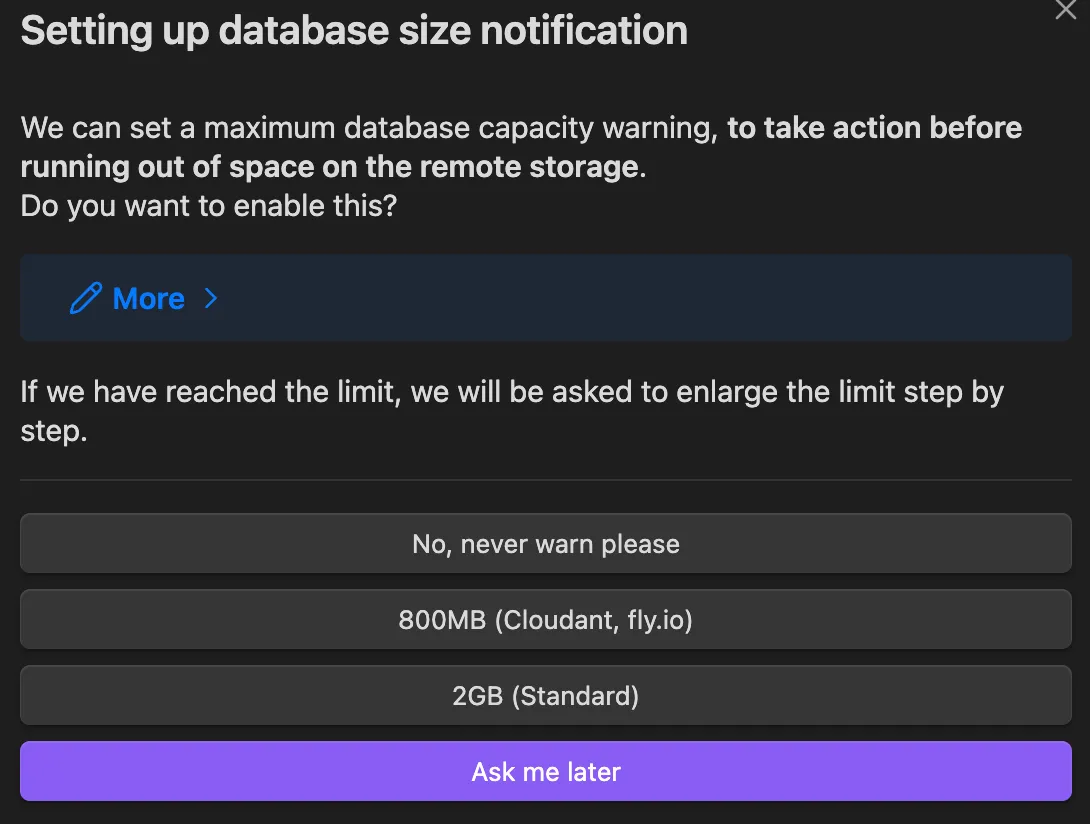
It will have a screen that asks about “Setting up database size notifications”. I hit the 2GB option.
Now, here comes the important setting for LiveSync to really shine! Go to Settings > Self-hosted LiveSync > Sync Settings. Scroll down to “Sync Mode” and select “LiveSync”.

Now it will sync your vault in real-time!
5. The Multi-Device Payoff
The beauty of this setup is adding new devices. You don’t have to re-enter all those settings on your phone or laptop.
In the LiveSync settings on your main machine, go to the Setup tab. Under the “To setup other devices” section you will see 2 ways you can connect to your vault on other devices.
- Copy the current settings to a Setup URI
- Show QR code
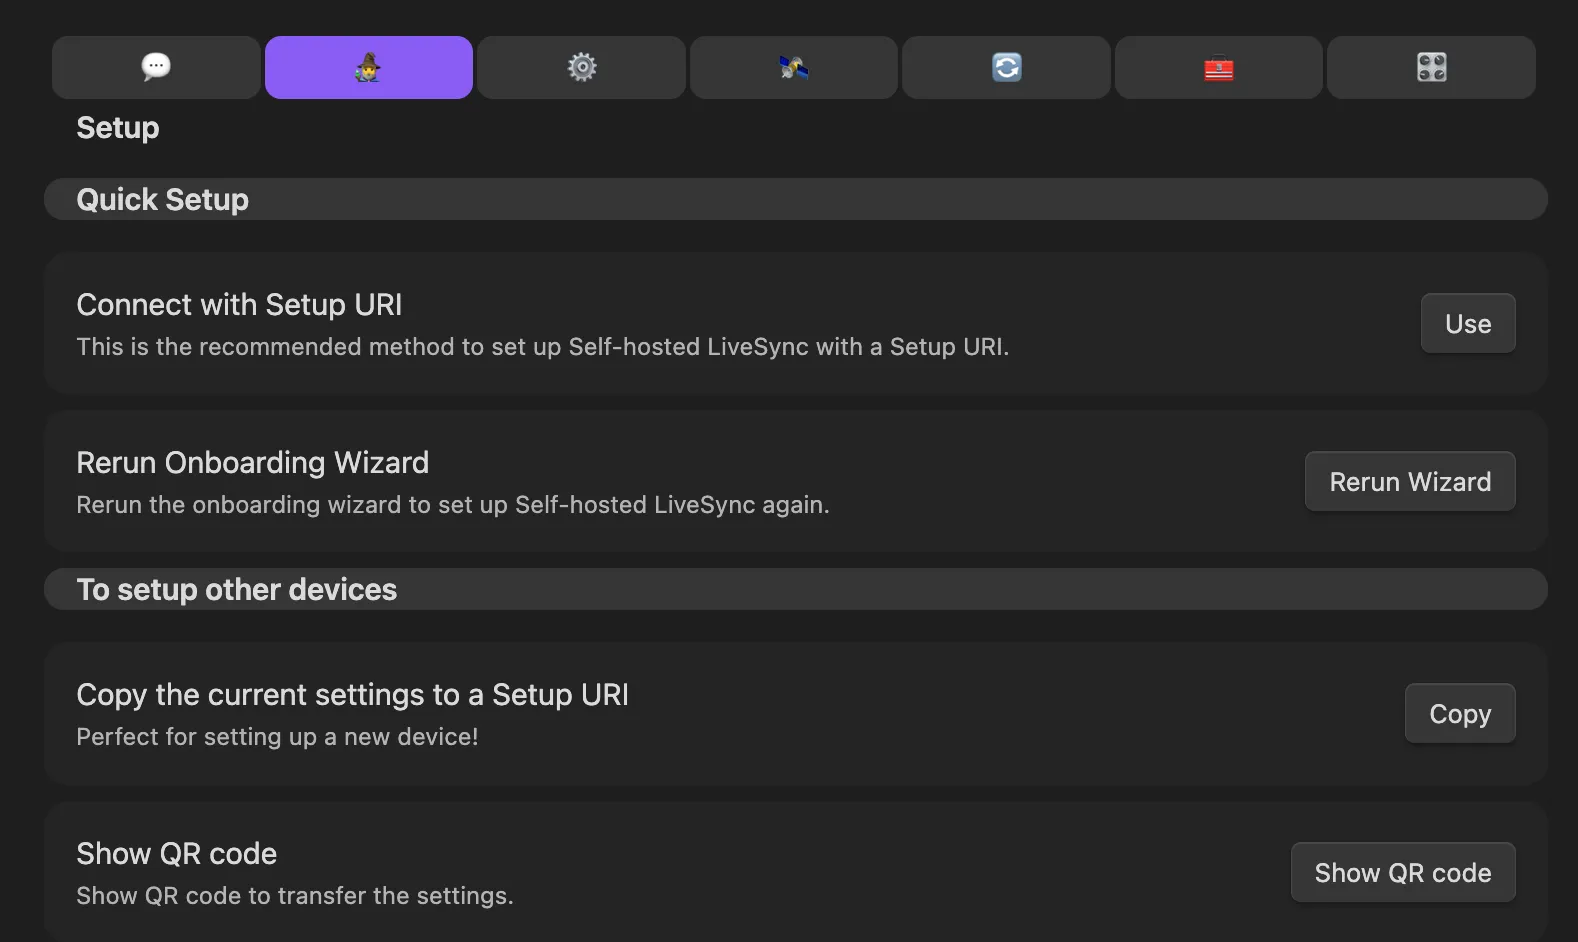
I personally prefer the QR code option, but you can use the Setup URI if you prefer.
Install Obsidian on your phone, open it, create a new empty vault. Make sure you don’t select the “store in iCloud” option. Go to Settings > Community Plugins and search for “Self-hosted LiveSync”. Install it. Enable it. This should pop up a window to configure the plugin.
Select “I am adding a device to an existing sync synchronization setup” and click “Yes”.
This is where the QR code or Setup URI option really shines. With the QR code option, Go into your laptop/desktop and open the LiveSync settings. Go to the Setup tab and select “Show QR code”. Scan that QR code with your phone. It will then pop up a window to confirm what kind of sync. Select “My remote server is already set up. I want to join this device.” and click “Proceed to the next step.”
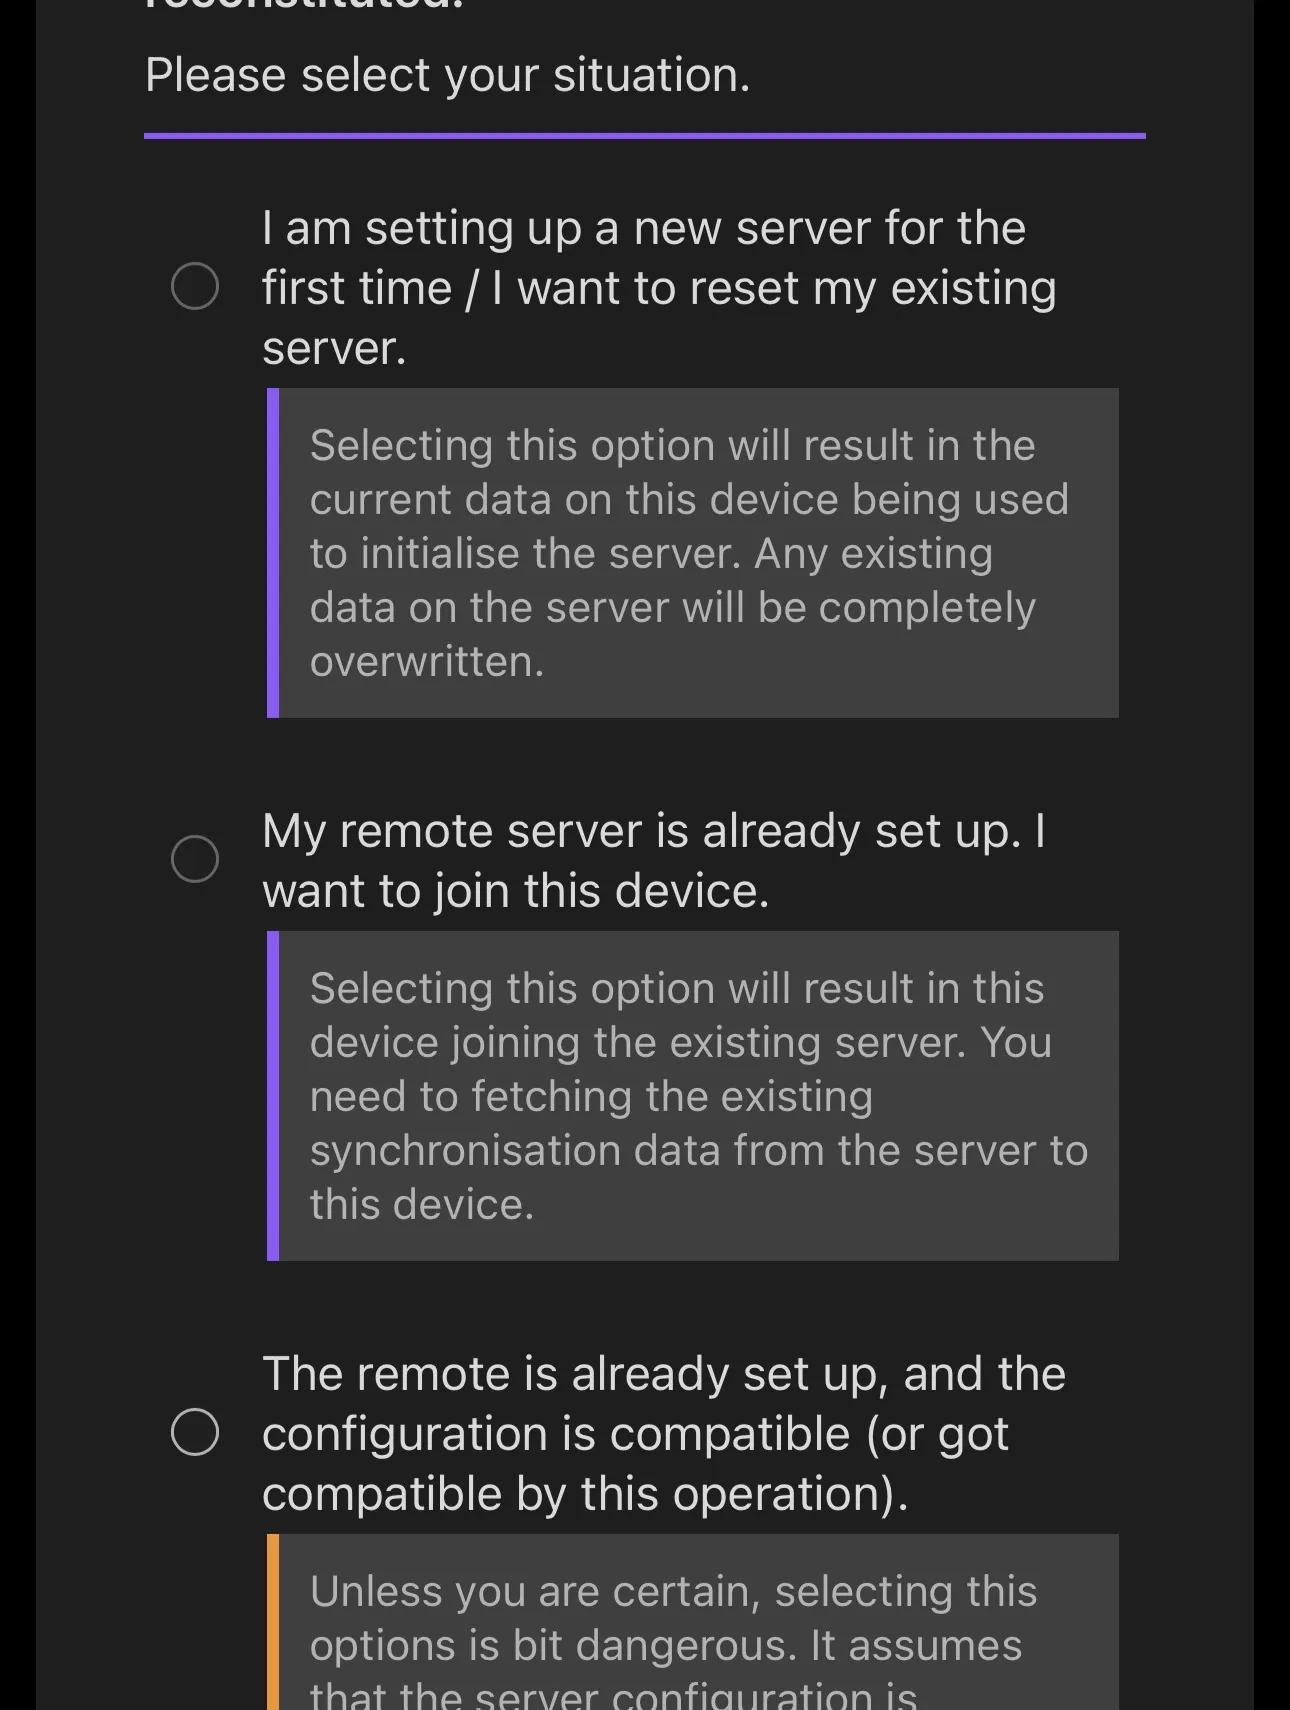
Restart and Fetch Data.
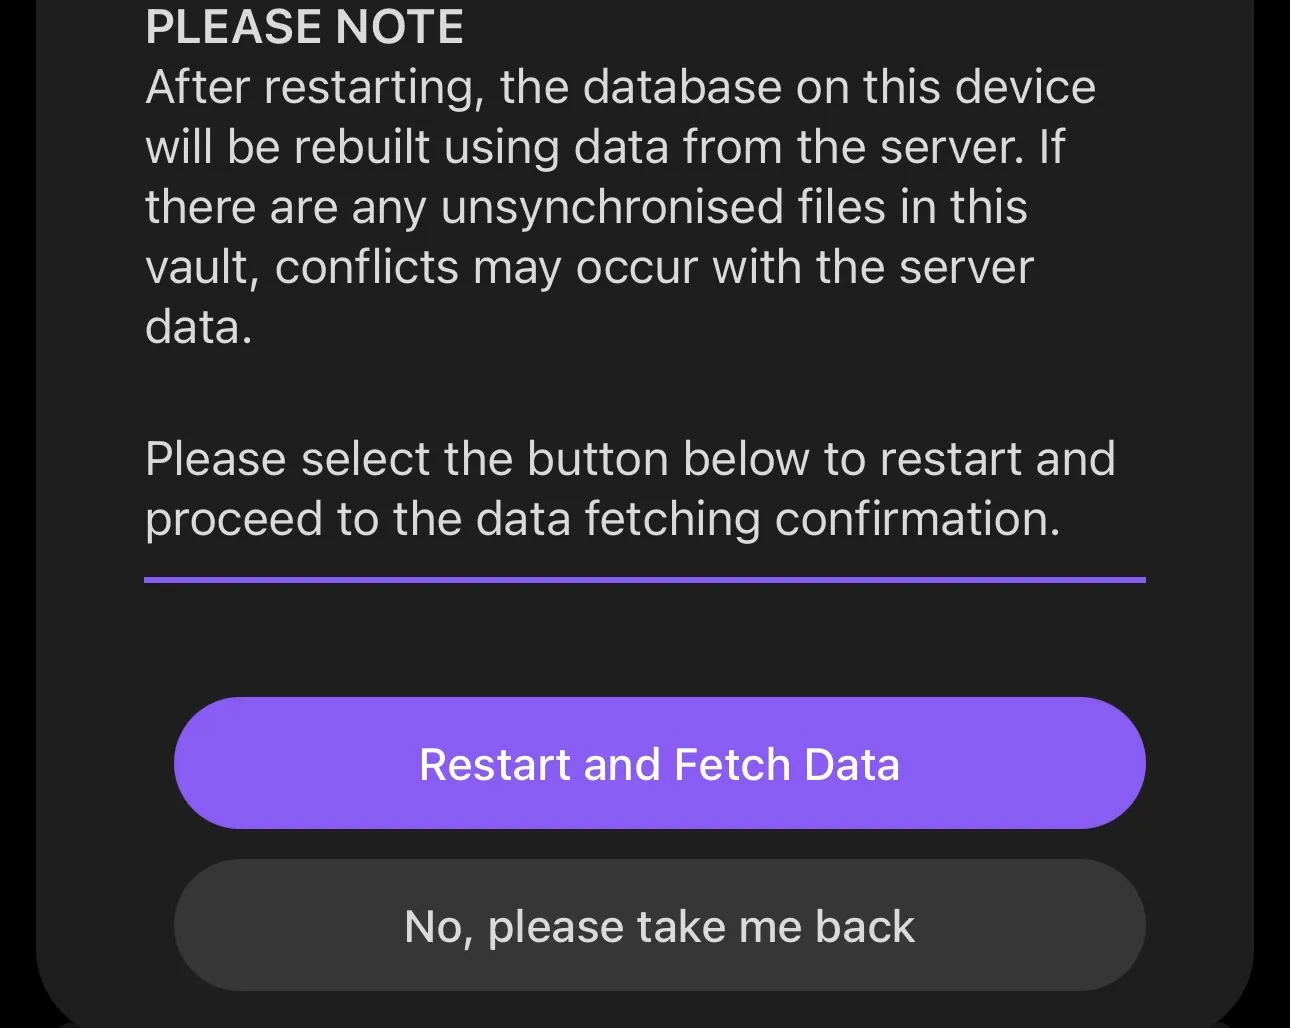
Reset Syncronization on the device. Say this vault is empty, or contains only new files that are not on the server. Tell it you already have a backup Click “Reset and Resume Syncronization”.
It will ask you a couple more questions. Just hit the recommended option for each.
Now go into obsidian Settings > Self-hosted LiveSync > Sync Settings. Scroll down to “Sync Mode” and select “LiveSync”.

Within seconds, your entire vault is mirrored on your mobile device. You can now use Obsidian on your phone and have it sync with your desktop in real-time.
Do Step 5 for all your devices and you will have a seamless note-taking experience across all of your devices.
Final Thoughts
Moving from Apple Notes to this setup felt like moving from a moped to a manual-transmission sports car. There was a learning curve, but I now have a system that is faster, more private, and entirely free of monthly fees. Plus, I can use it for more than just notes. I can use it for my work, my personal life, and everything in between.
I did not move my notes over, because I feel like that would mess up the new way of note taking I am trying to establish. I will start fresh with this new setup. I will transfer meaningful notes over time.
Now I need to learn more about Obsidian and how to use it to its full potential. I’m excited to see what I can do with it. I’ll be sure to post more about it in the future.
Remote access to this server outside your house can be done with a VPN. I use WireGuard for this purpose. It is easy to setup with Ubiquiti’s UniFi System. I recommend it if you are looking to setup a VPN for your house.
If you’re a developer looking to own your note data, this is the way to do it.
~ Joshua
Tags: Obsidian , Docker , Self-hosted , Sync , Couchdb , Tutorials , Livesync , Private , Networking , Vpn , Unifi , Wireguard , Privacy , Tech , Software , ProductivityMy Journey from Brave to Vivaldi
Related Posts
-
How to Migrate Zoho Mail to iCloud Custom Domain for Free
A step-by-step guide to migrating your historical emails from Zoho Mail to iCloud Custom Domain for free using imap-backup on a Mac.
Continue to read more… -
Speed over Pure Muscle: My First Week with Gemini 3.5 Flash
/ Blog, Programming
A developer's first-week review of Google's Gemini 3.5 Flash. Discover why its ultra-low latency makes it the ultimate coding agent for software development.
Continue to read more… -
Is Your Phone at Risk? How Updates Keep Your Data Safe
Apple's latest iOS advisory warns that out-of-date devices are at risk. Learn why keeping your phone updated is the best defense for your personal data.
Continue to read more… -
The MacBook Neo: Apple's Most Interesting Compromise Yet
A look at the new $599 MacBook Neo, exploring its A18 Pro chip, hardware trade-offs, and whether it's the ultimate travel companion or just a budget compromise.
Continue to read more…