How to Set Up Local HTTPS with Caddy and Cloudflare DNS
/ Tutorials, Tech, SecurityJoin our free newsletter on Patreon for updates & behind-the-scenes →If you run services locally on your home network, like Pi-hole, Proxmox, Home Assistant, or Jellyfin, you are likely familiar with the friction of navigating to raw IP addresses and ports like http://192.168.1.100:8080.
Worse, modern browsers constantly complain about it:
- If the service doesn’t support TLS, you are stuck on unencrypted HTTP.
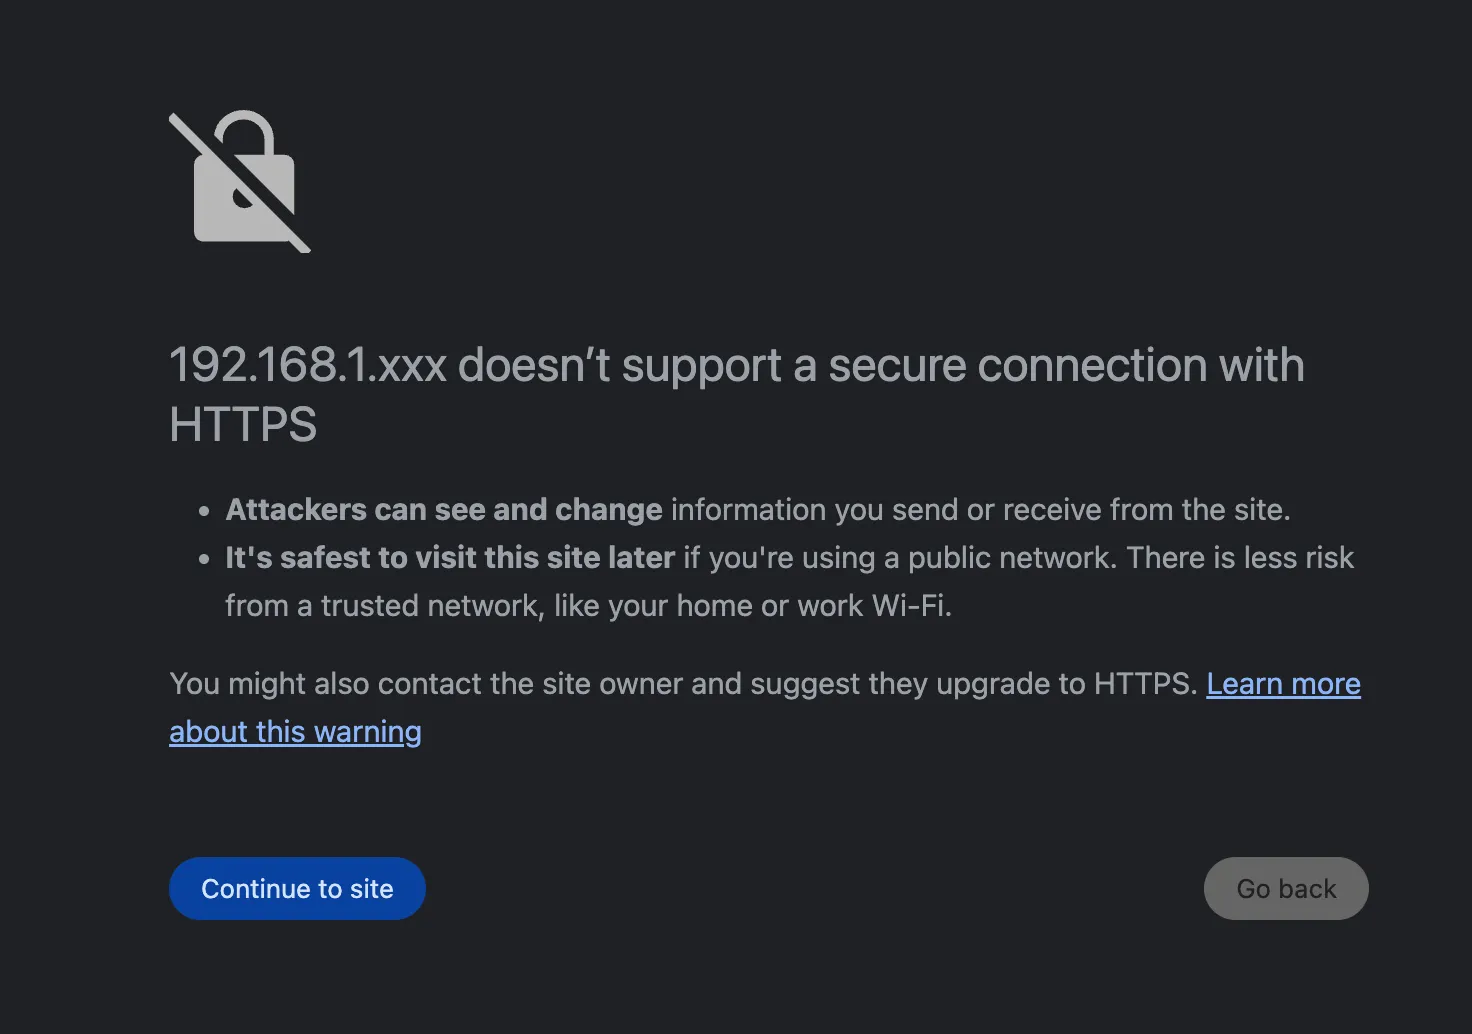
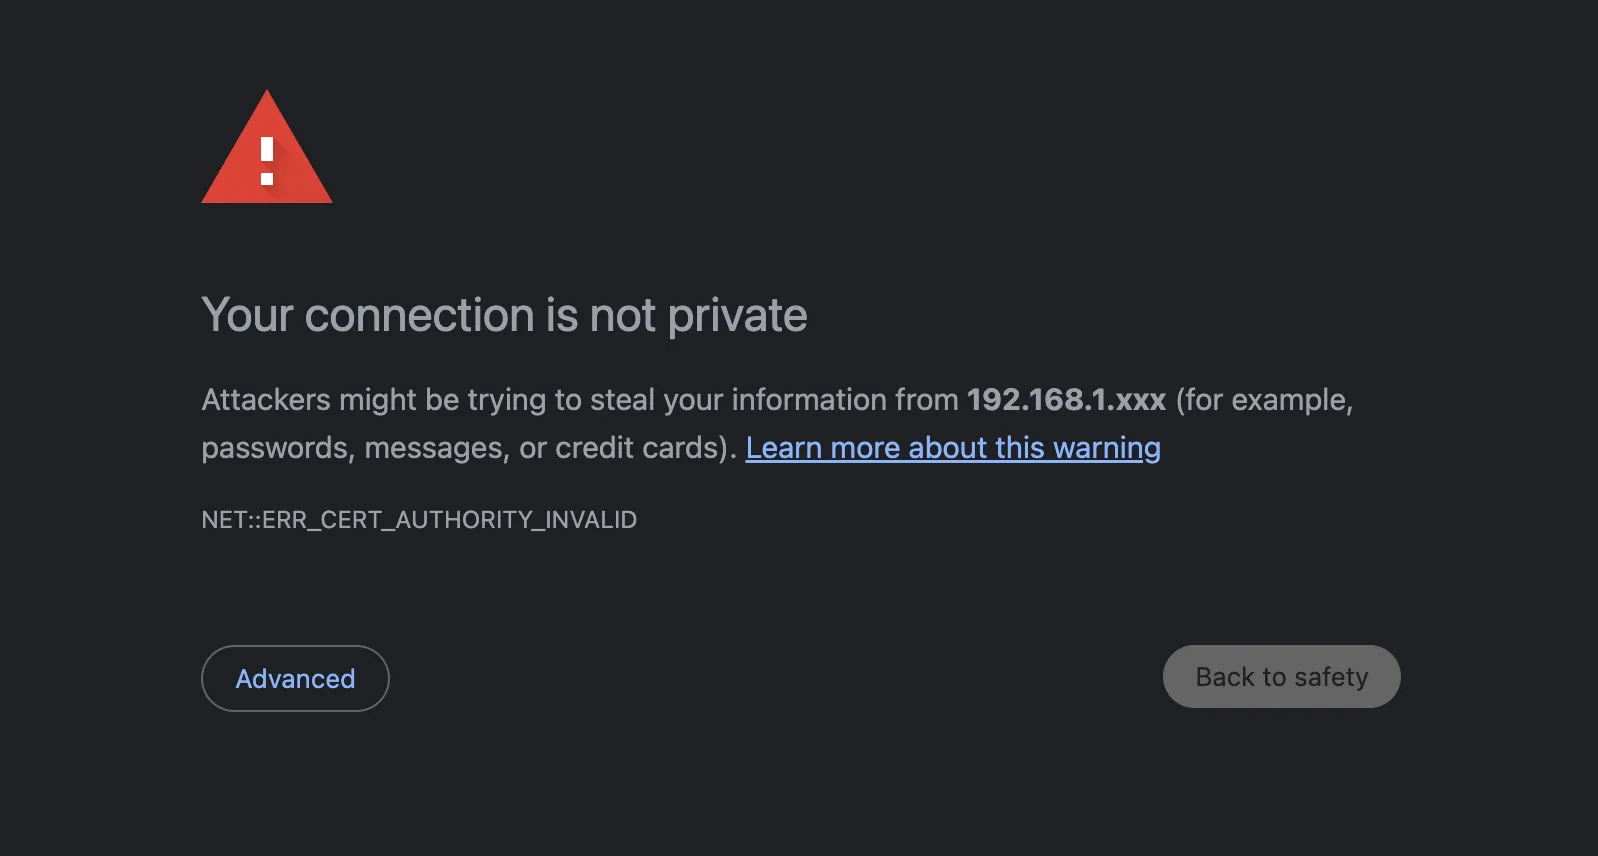
- If it uses a self-signed certificate, you get aggressive “Your connection is not private” security warnings that you must bypass regularly.
The ideal fix is setting up a reverse proxy with valid, trusted Let’s Encrypt SSL certificates. However, most people assume that getting a Let’s Encrypt certificate requires exposing port 80 and 443 to the public internet.
It doesn’t.
By pairing Caddy with Cloudflare’s DNS-01 challenge, Caddy can validate domain ownership directly via Cloudflare’s API. This allows you to generate real, trusted wildcard SSL certificates locally, keeping every internal service completely sealed off from the outside world.
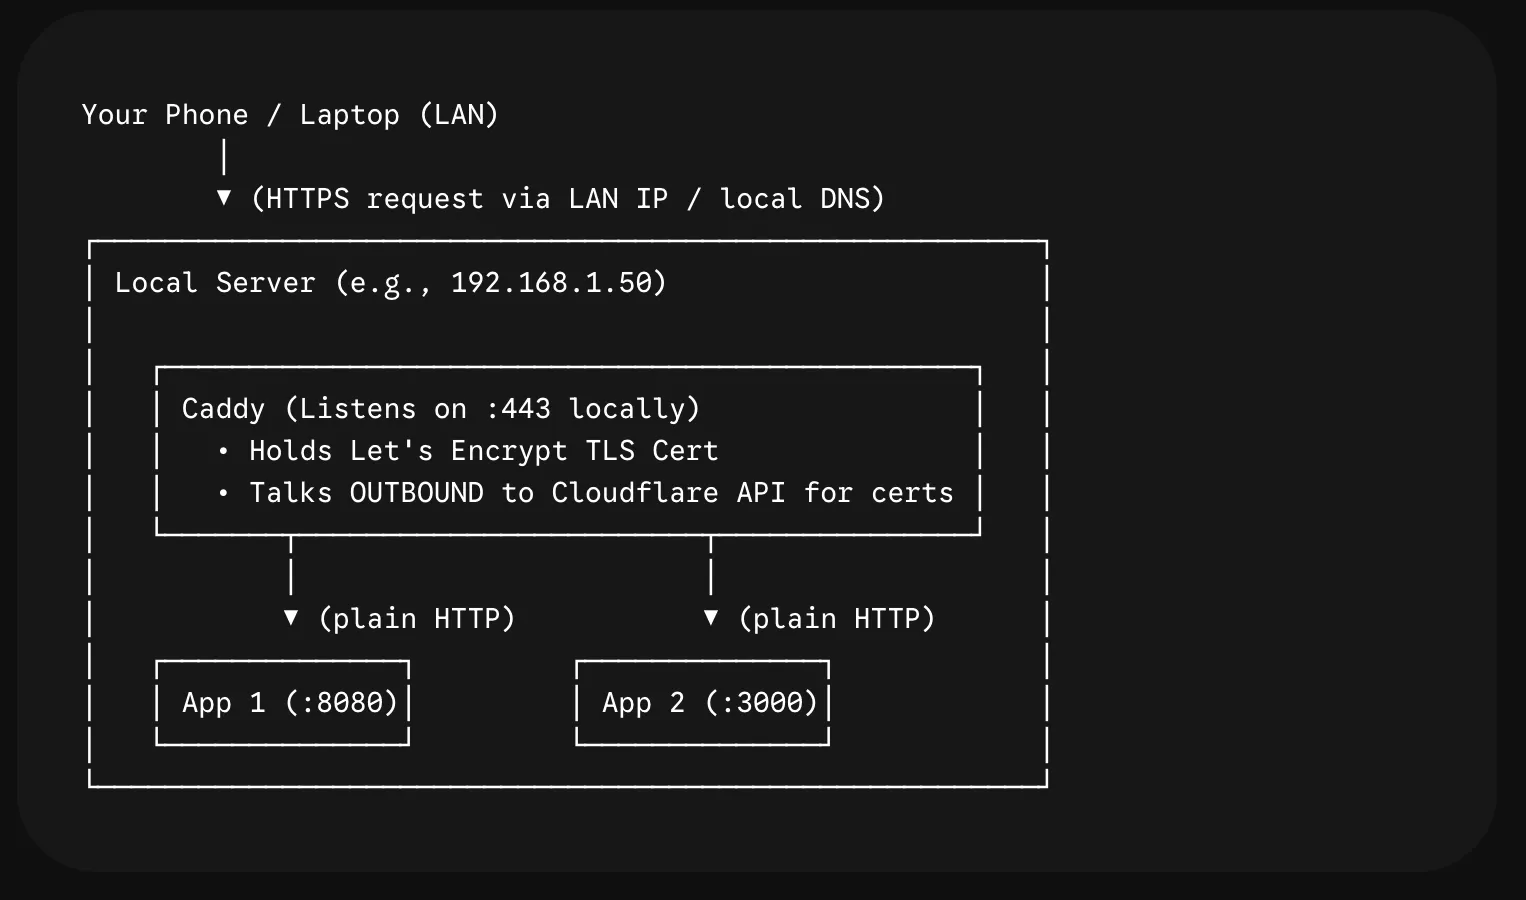
Here is a step-by-step walkthrough to get this up and running using Docker Compose.
Step 1: Configure Cloudflare
To make internal routing seamless, you will set up a wildcard DNS record and generate a scoped API token.
1. Add a Wildcard DNS Record
In your Cloudflare dashboard under your domain’s DNS Records, add an A record pointing internal traffic to your reverse proxy server:
| Type | Name | Content (IPv4 Address) | Proxy Status |
|---|---|---|---|
| A | *.local |
192.168.x.x (Your reverse proxy host IP) |
DNS only (Grey cloud) |
Privacy Note: If you prefer not to expose local LAN IP addresses in your public Cloudflare zone, leave this record off Cloudflare. Instead, create a local DNS rewrite (
*.local.yourdomain.com -> 192.168.x.x) inside your LAN DNS resolver (such as Pi-hole, AdGuard Home, or UniFi). Either method works identically for routing. However, I haven’t tried this method.
2. Generate a Scoped Cloudflare API Token
Caddy needs permission to create and delete the temporary _acme-challenge TXT records that Let’s Encrypt requires for validation.
- Navigate to Cloudflare Dashboard → My Profile → API Tokens → Create Token.
- Select Edit zone DNS template or Create Custom Token.
- Configure the following permissions:
- Zone → DNS → Edit
- Under Zone Resources, select:
- Include Specific zone →
yourdomain.com
- Include Specific zone →
- Create the token and copy the value.
Step 2: Project File Structure
On your server, create a dedicated directory for your Caddy stack:
caddy/
├── Dockerfile
├── docker-compose.yml
├── Caddyfile
└── .env
Step 3: Build and Configure Caddy
Standard Caddy release images do not include DNS provider plugins by default. We will compile a lightweight custom image using xcaddy to bake in the Cloudflare DNS module.
Dockerfile
FROM caddy:2-builder AS builder

RUN xcaddy build \
    --with github.com/caddy-dns/cloudflare

FROM caddy:2

COPY --from=builder /usr/bin/caddy /usr/bin/caddy
docker-compose.yml
services:
  caddy:
    build: .
    container_name: caddy
    restart: unless-stopped
    ports:
      - "80:80"
      - "443:443"
      - "443:443/udp"
    extra_hosts:
      - "host.docker.internal:host-gateway"
    environment:
      - CLOUDFLARE_API_TOKEN=${CLOUDFLARE_API_TOKEN}
    volumes:
      - ./Caddyfile:/etc/caddy/Caddyfile:ro
      - caddy_data:/data
      - caddy_config:/config

volumes:
  caddy_data:
  caddy_config:
Note for Non-Linux Users: The
extra_hostsdefinition (host.docker.internal:host-gateway) is specifically required for Linux environments (like Arch or Ubuntu). If you run Docker Desktop on macOS or Windows, this resolution is handled out of the box.
Caddyfile
This configuration manages the wildcard certificate issuance and reverse proxies your traffic to internal hosts:
{
    email your-email@example.com
}

# Example using a wildcard subdomain for your local services
*.local.yourdomain.com {
    tls {
        dns cloudflare {env.CLOUDFLARE_API_TOKEN}
    }

    @app1 host app1.local.yourdomain.com
    handle @app1 {
        reverse_proxy host.docker.internal:8080 {
	        transport http {
		        tls_insecure_skip_verify
		    }
		}
    }

    @app2 host app2.local.yourdomain.com
    handle @app2 {
        reverse_proxy host.docker.internal:3000
    }

    @app3 host app3.local.yourdomain.com
    handle @app3 {
        reverse_proxy http://192.168.x.x:3000
    }

    # Default fallback
    handle {
        respond "Service Not Found" 404
    }
}tls_insecure_skip_verify: Useful when proxying to an existing service that runs a self-signed HTTPS certificate (like Proxmox or a router web UI) to prevent Caddy from rejecting the upstream backend.host.docker.internal: Points directly to ports hosted on the host machine outside of the Caddy container network.
.env
Create a .env file alongside your Compose configuration to store your secret:
# Cloudflare API Token requires: Zone -> DNS -> Edit permissions
CLOUDFLARE_API_TOKEN=your_cloudflare_api_token_here
Step 4: Deploy and Verify
Before starting Caddy, ensure ports 80 and 443 are free on the host.
1. Build and Run
Start the container in detached mode:
docker compose up -d --build2. Check the Logs
Tail the container output to confirm certificate provisioning succeeds:
docker compose logs -f caddyDuring initialization, Caddy contacts Cloudflare, creates the temporary challenge records, confirms validation with Let’s Encrypt, and provisions a wildcard certificate for *.local.yourdomain.com.
If an issuance fails, verify that:
- The token is scoped to the correct domain zone and has correct permissions.
- Your server can resolve external DNS queries.
You can try restarting it with docker compose down and bring it back up with docker compose up -d
The Result
Navigate to https://pihole.local.yourdomain.com (or your whatever you called your service) from any device connected to your local network. The page should load cleanly with a trusted padlock icon, zero security warnings, and no manual certificate imports needed on your client devices.
Have you deployed a similar split DNS or reverse proxy setup in your homelab? What services are you routing through it? Let me know in the comments!
~Joshua
Tags:Caddy, Cloudflare, Ssl, Docker, Self-hosted, Networking, Dns, Security, Web-development, Home-computerThe Subscription System I Didn’t Build
Related Posts
Adding Comments to an Astro Blog: Why I Chose Self-Hosted Artalk
Learn why I chose Artalk for my Astro blog. Discover how this self-hosted, lightweight, and privacy-focused comment system keeps my static site fast and secure.
Continue to read more…
How I Host and Deploy My Astro Site for $0 on Cloudflare
Learn how to host and deploy your Astro static site for free using Cloudflare. Streamline your development workflow with this simple, reliable, and fast guide.
Continue to read more…
Built an Astro CMS Admin in Go
/Programming, Blog, Tech
I built a lightweight, high-performance CMS admin panel for my Astro blog using Go. Learn how this custom tool streamlines my publishing workflow from anywhere.
Continue to read more…
Ditching the IDE: Streamlining My Astro Blog Workflow
Why I'm building a custom Go backend with Firebase Auth to manage and publish blog posts to my Astro site on the fly without opening an IDE.
Continue to read more…
Comments
Join the discussion